Your First Encryption
This guide walks you through encrypting your first file with Necron Vault Manager. By the end, you'll know how to encrypt and verify a file.
Choose Your Method
| Method | Best For | Description |
|---|---|---|
| Vault Import | Organized encrypted storage | Add files to a managed vault — the primary workflow |
| Quick Encrypt | Individual files or quick jobs | Standalone encryption without setting up a vault |
For your first encryption, we recommend Vault Import — it's the core workflow. If you haven't created a vault yet, see Creating a Vault first.
Before You Begin
Make sure:
- Necron Vault Manager is open and you've passed the Gatekeeper screen
- Your key is active — either a Key Drive is connected or you've logged in with your Free Tier account
- You have a vault selected — click a vault in the sidebar
- You have a test file — use a non-critical file for your first attempt
Tip
Create a small test file (e.g., test.txt with some text) specifically for learning. This way you can experiment freely without worrying about important data.
Vault Import Walkthrough
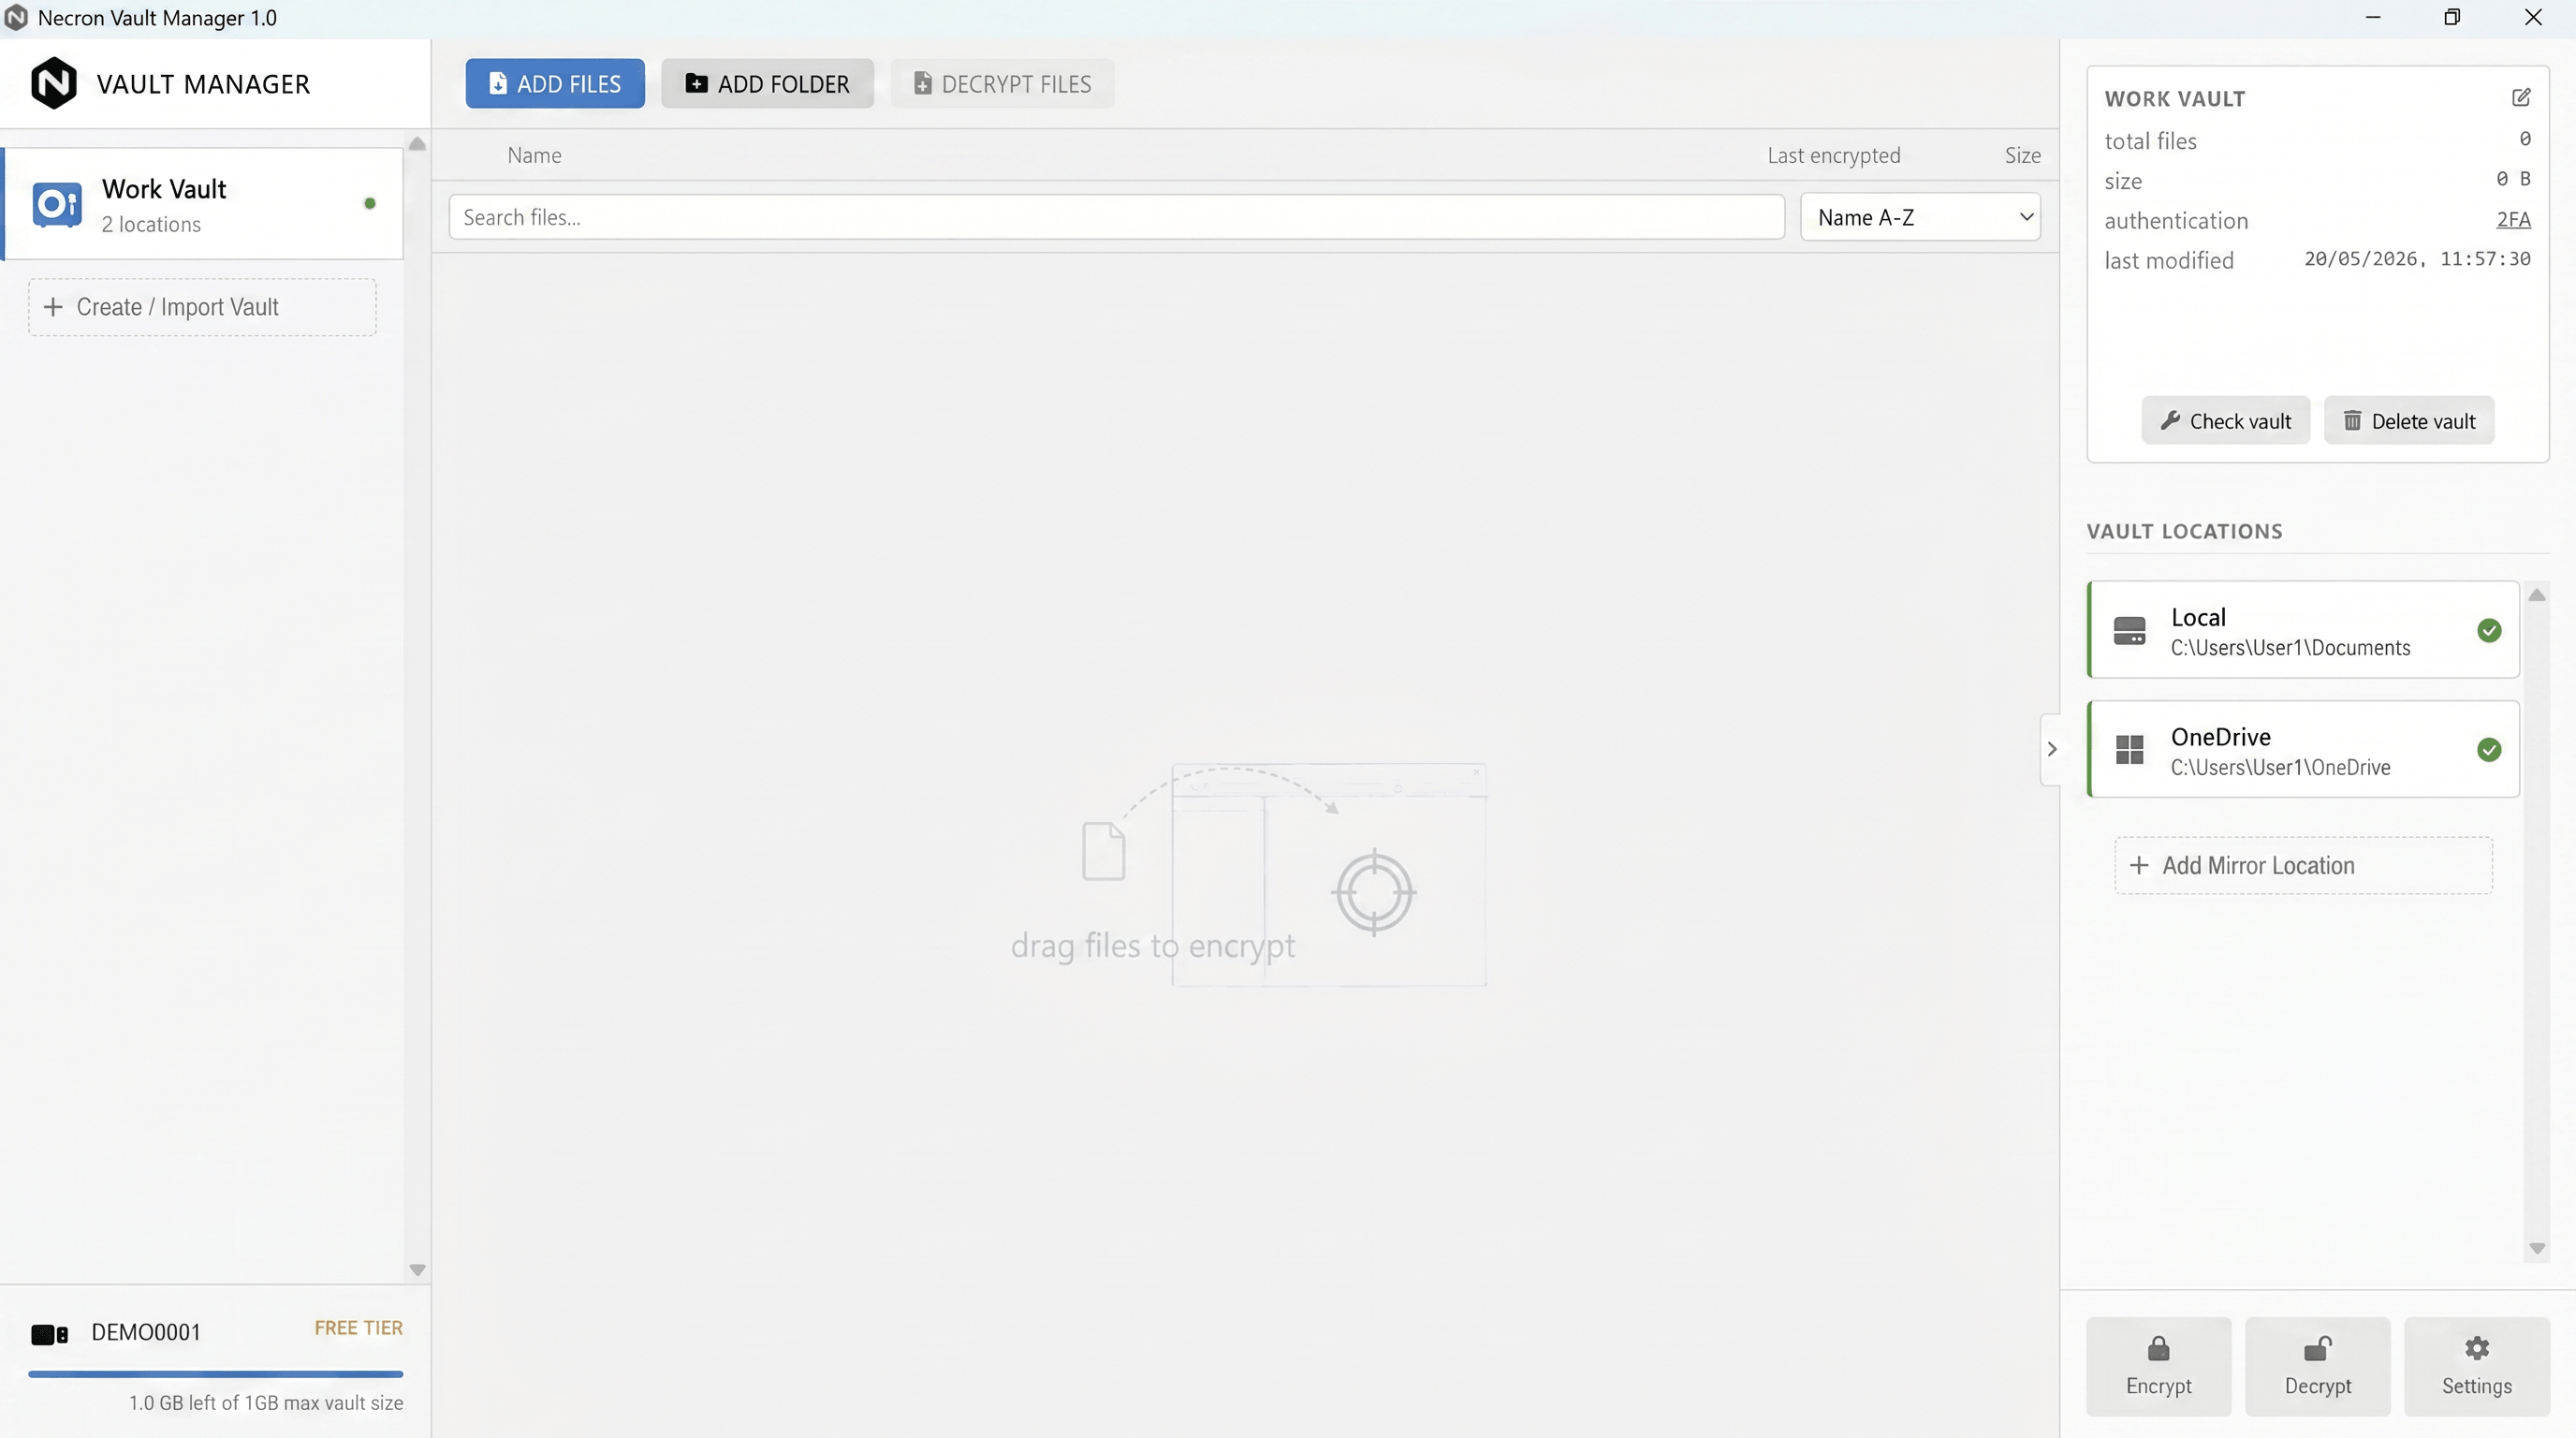
Step 1: Select Your Vault
Click a vault in the sidebar. The vault browser shows its contents (empty for a new vault).
Step 2: Add Files

Click ADD FILES in the toolbar to select files, or ADD FOLDER to add an entire directory. You can also drag and drop files directly onto the vault browser.
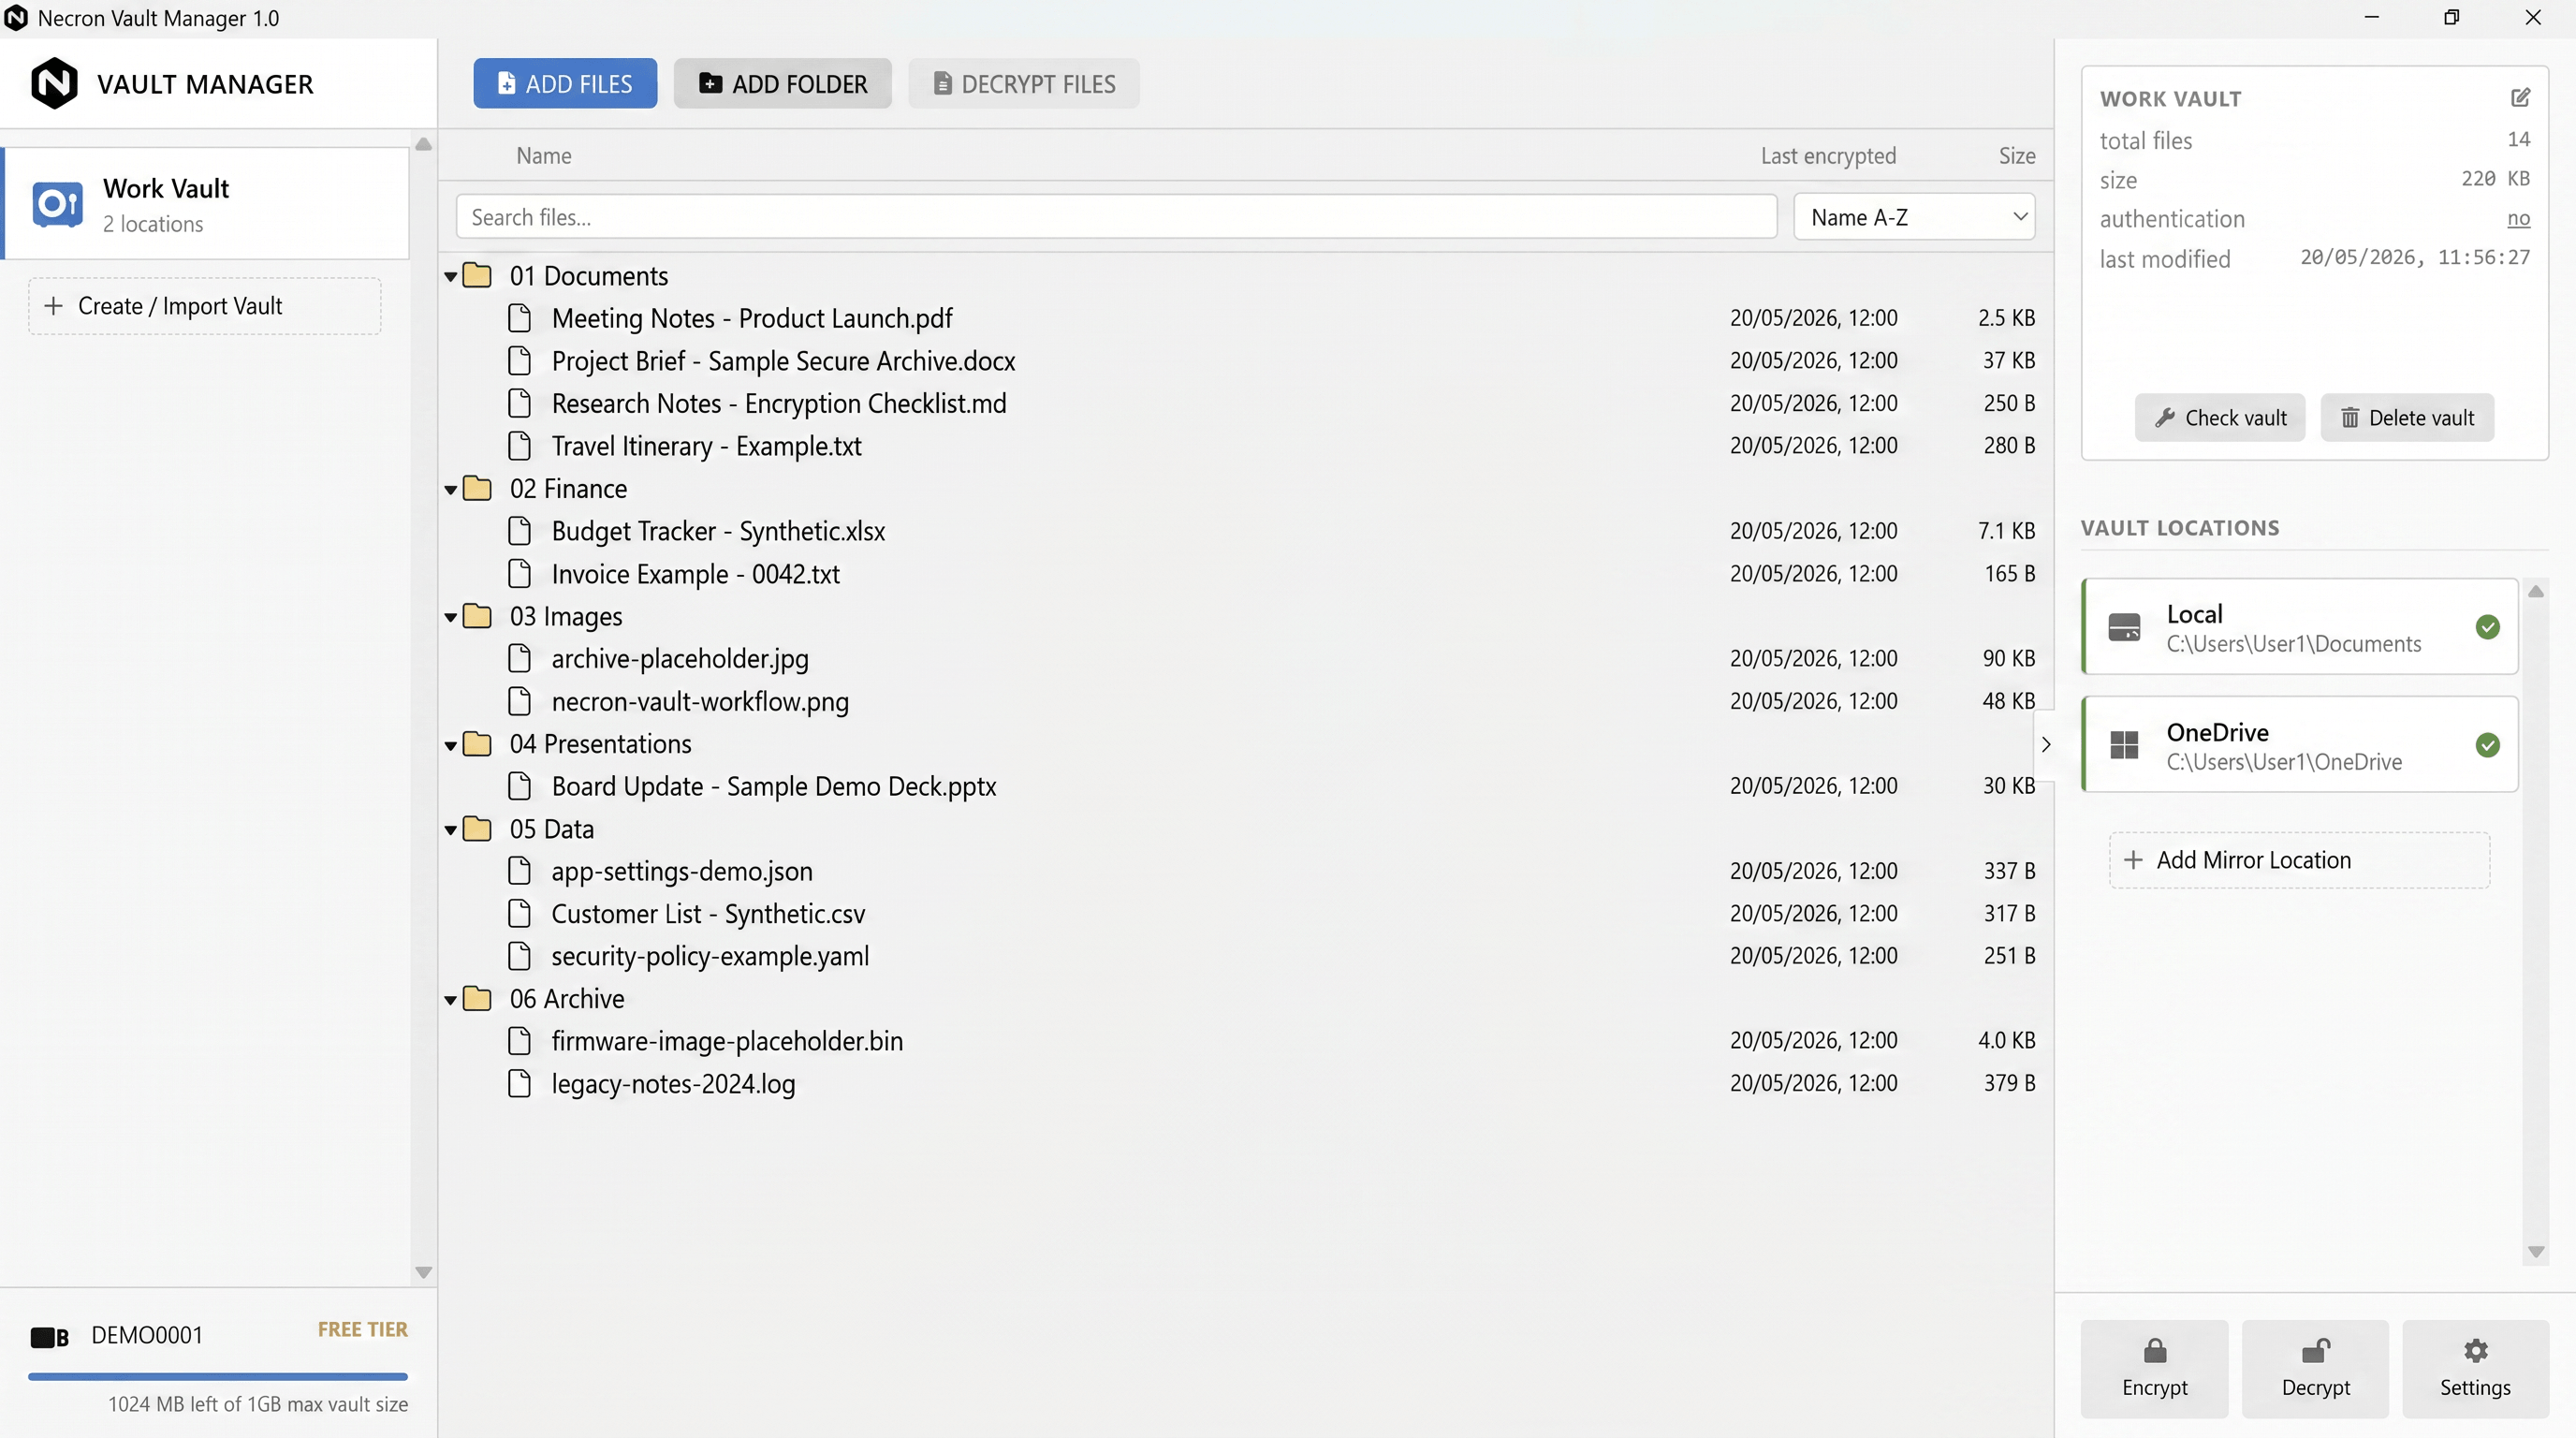
Step 3: Watch the Import
Files are encrypted and imported automatically. The vault browser updates to show the newly imported files with their names, dates, and sizes.
Quick Encrypt Walkthrough
For standalone encryption outside of a vault:
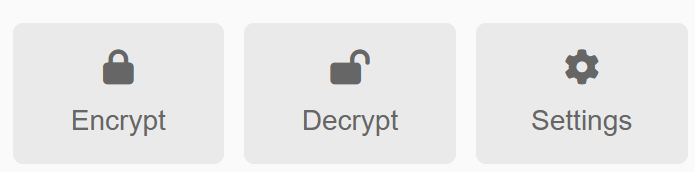
- Click the Encrypt tile in the inspector footer (bottom of the right-hand panel)
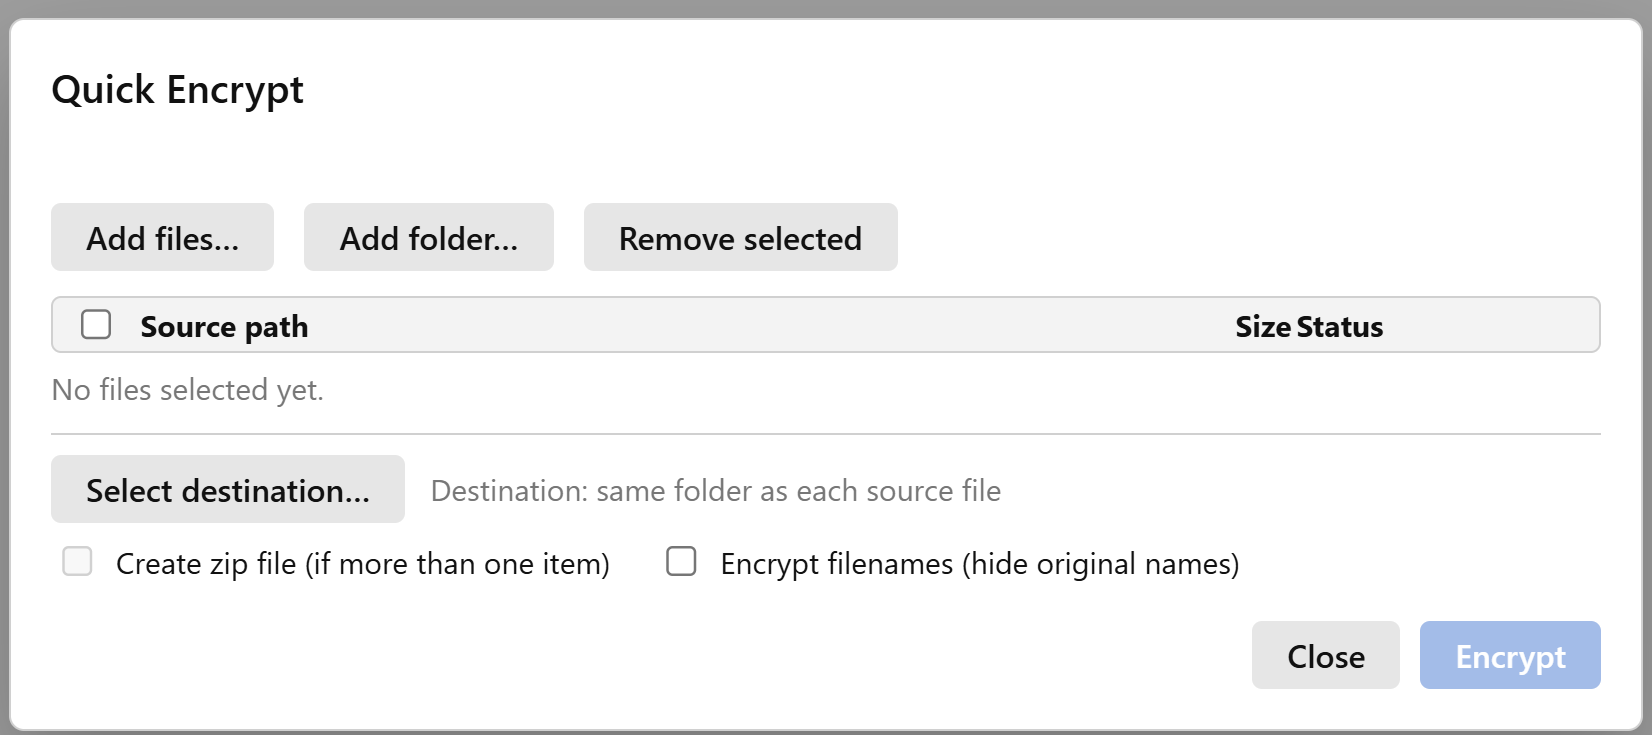
- Click Add files to select files
- Optionally choose a different destination and toggle Encrypt filenames for extra privacy
- Click Encrypt
Encrypted files appear with a .ncrn extension next to the originals (or in your chosen destination).
Output Examples
| Original File | Encrypted Output |
|---|---|
report.pdf |
report.pdf.ncrn |
photo.jpg |
photo.jpg.ncrn |
If Encrypt filenames was enabled, filenames are replaced with random-looking tokens for extra privacy.
Verify Your Encrypted File
It's good practice to verify encryption worked:
- Check the output exists — confirm the
.ncrnfile is in the expected location - Try opening it — opening in a text editor should show unreadable encrypted data
- Decrypt and compare — decrypt the file and confirm the output matches the original
Danger
Never delete your original file until you've verified you can successfully decrypt the encrypted copy. Always keep backups until you're confident in your workflow.
Common Questions
Can I encrypt the same file twice?
Yes. Each encryption uses fresh random values, so encrypting the same file twice produces different encrypted output. Both copies can be decrypted independently.
What happens if I lose my Key Drive?
Without the matching Key Drive (or a backup Key Drive), encrypted files cannot be decrypted. This is by design — only the holder of the correct key can access the data. See Backup Key Drives for how to protect against Key Drive loss.
Can someone else decrypt my files?
Only if they have access to your Key Drive or your software key. Necron never transmits your key material over the network.
Next Steps
- Creating a Vault — organize your encrypted files
- Encrypting & Decrypting Files — full guide to encryption and decryption
- Filename Privacy Options — learn about plaintext vs. encrypted filename options