Creating a Vault
A vault is a secure, encrypted container for your files. Necron Vault Manager lets you create multiple vaults, each with its own storage locations and optional TOTP authentication. This guide walks you through the vault creation process.
Prerequisites
Before creating a vault, make sure you have:
- A Key Drive connected (either a physical Key Drive for Pro users, or an active software key for Free users)
- At least one folder available where encrypted files will be stored
Create Vault Wizard
Click the Create Vault button in the left sidebar to start the wizard. It walks you through three steps:
Step 1 — Choose a Vault Name
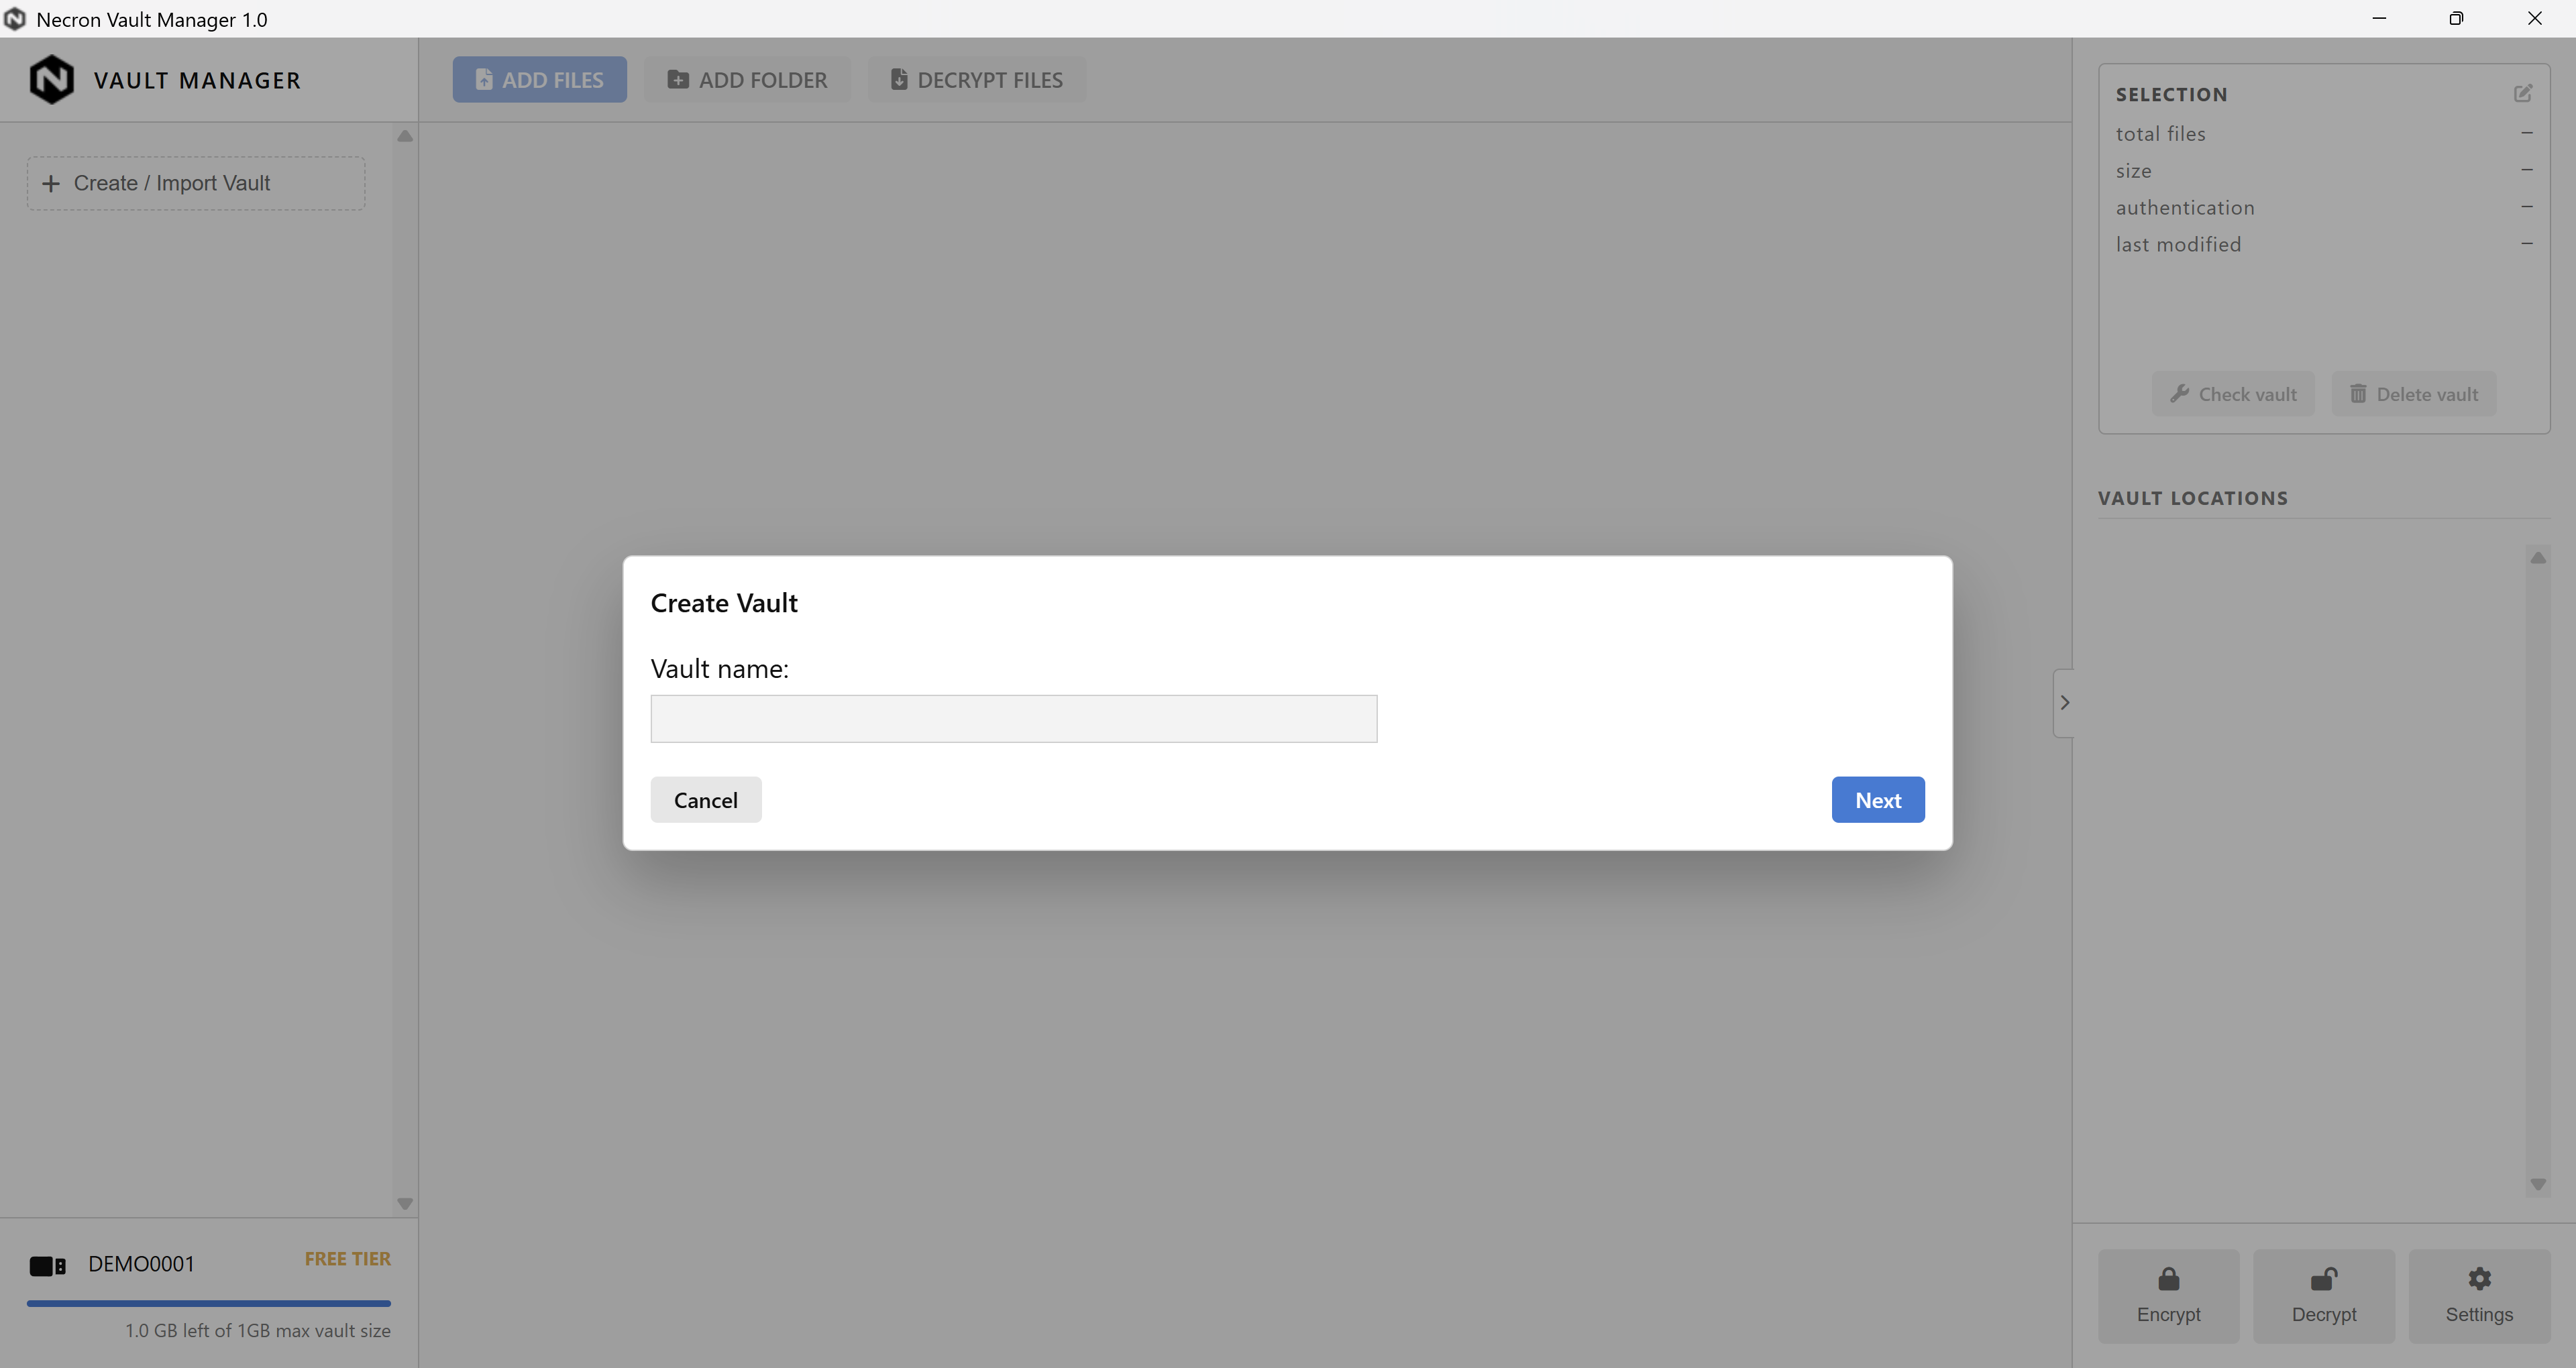
Enter a name for your vault. This name is stored securely on your Key Drive and is only visible when the Key Drive is connected. Storage providers never see this name.
Choose something descriptive — for example, "Work Documents", "Tax Records 2025", or "Family Photos".
Step 2 — Select Storage Locations
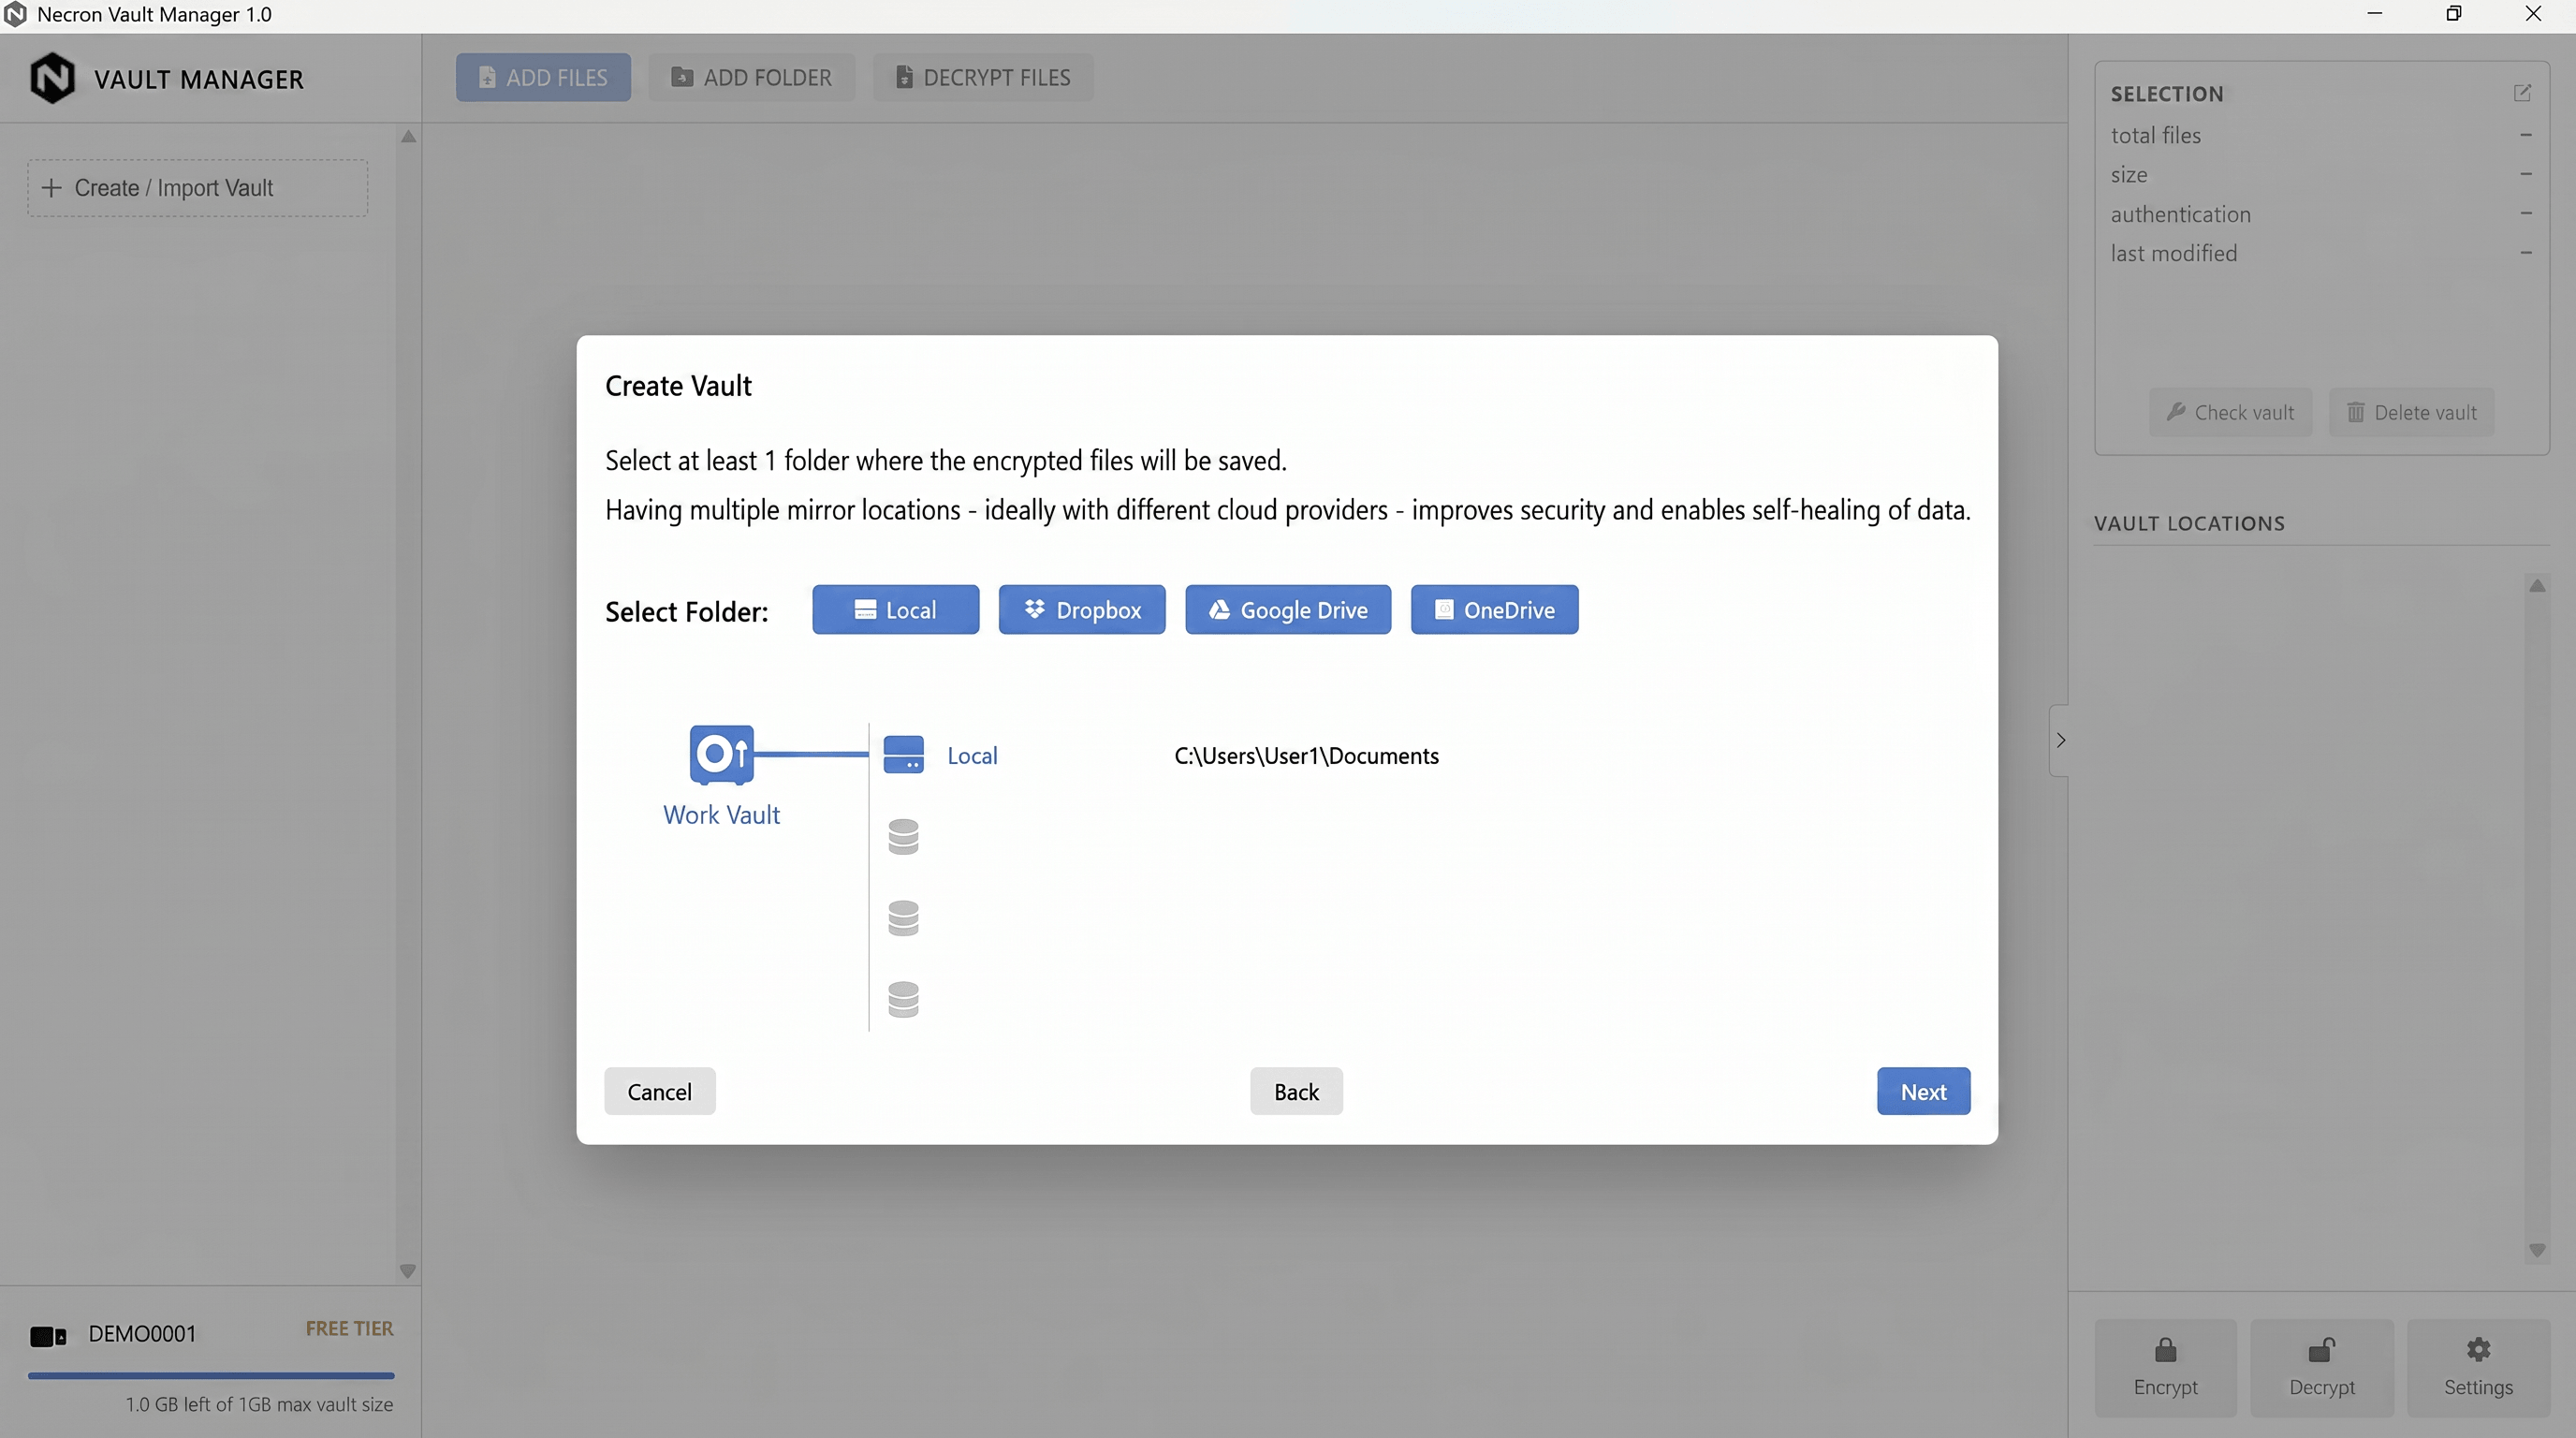
Select at least one folder where the vault's encrypted files will be saved. You can add multiple locations for redundancy.
The wizard offers four provider buttons:
| Provider | Description |
|---|---|
| Local | Any local folder, including external/removable USB drives |
| Dropbox | A folder inside your Dropbox sync directory |
| Google Drive | A folder inside your Google Drive sync directory |
| OneDrive | A folder inside your OneDrive sync directory |
Tip
For maximum protection, add locations across different providers. For example, one Local folder and one Google Drive folder. If one location has a problem, the vault can restore from the other. See Vault Health & Repair for details.
Warning
Do not select a folder that is already inside another vault's storage location. The app will detect this and block it to prevent conflicts.
Step 3 (Optional) — Enable TOTP Authentication
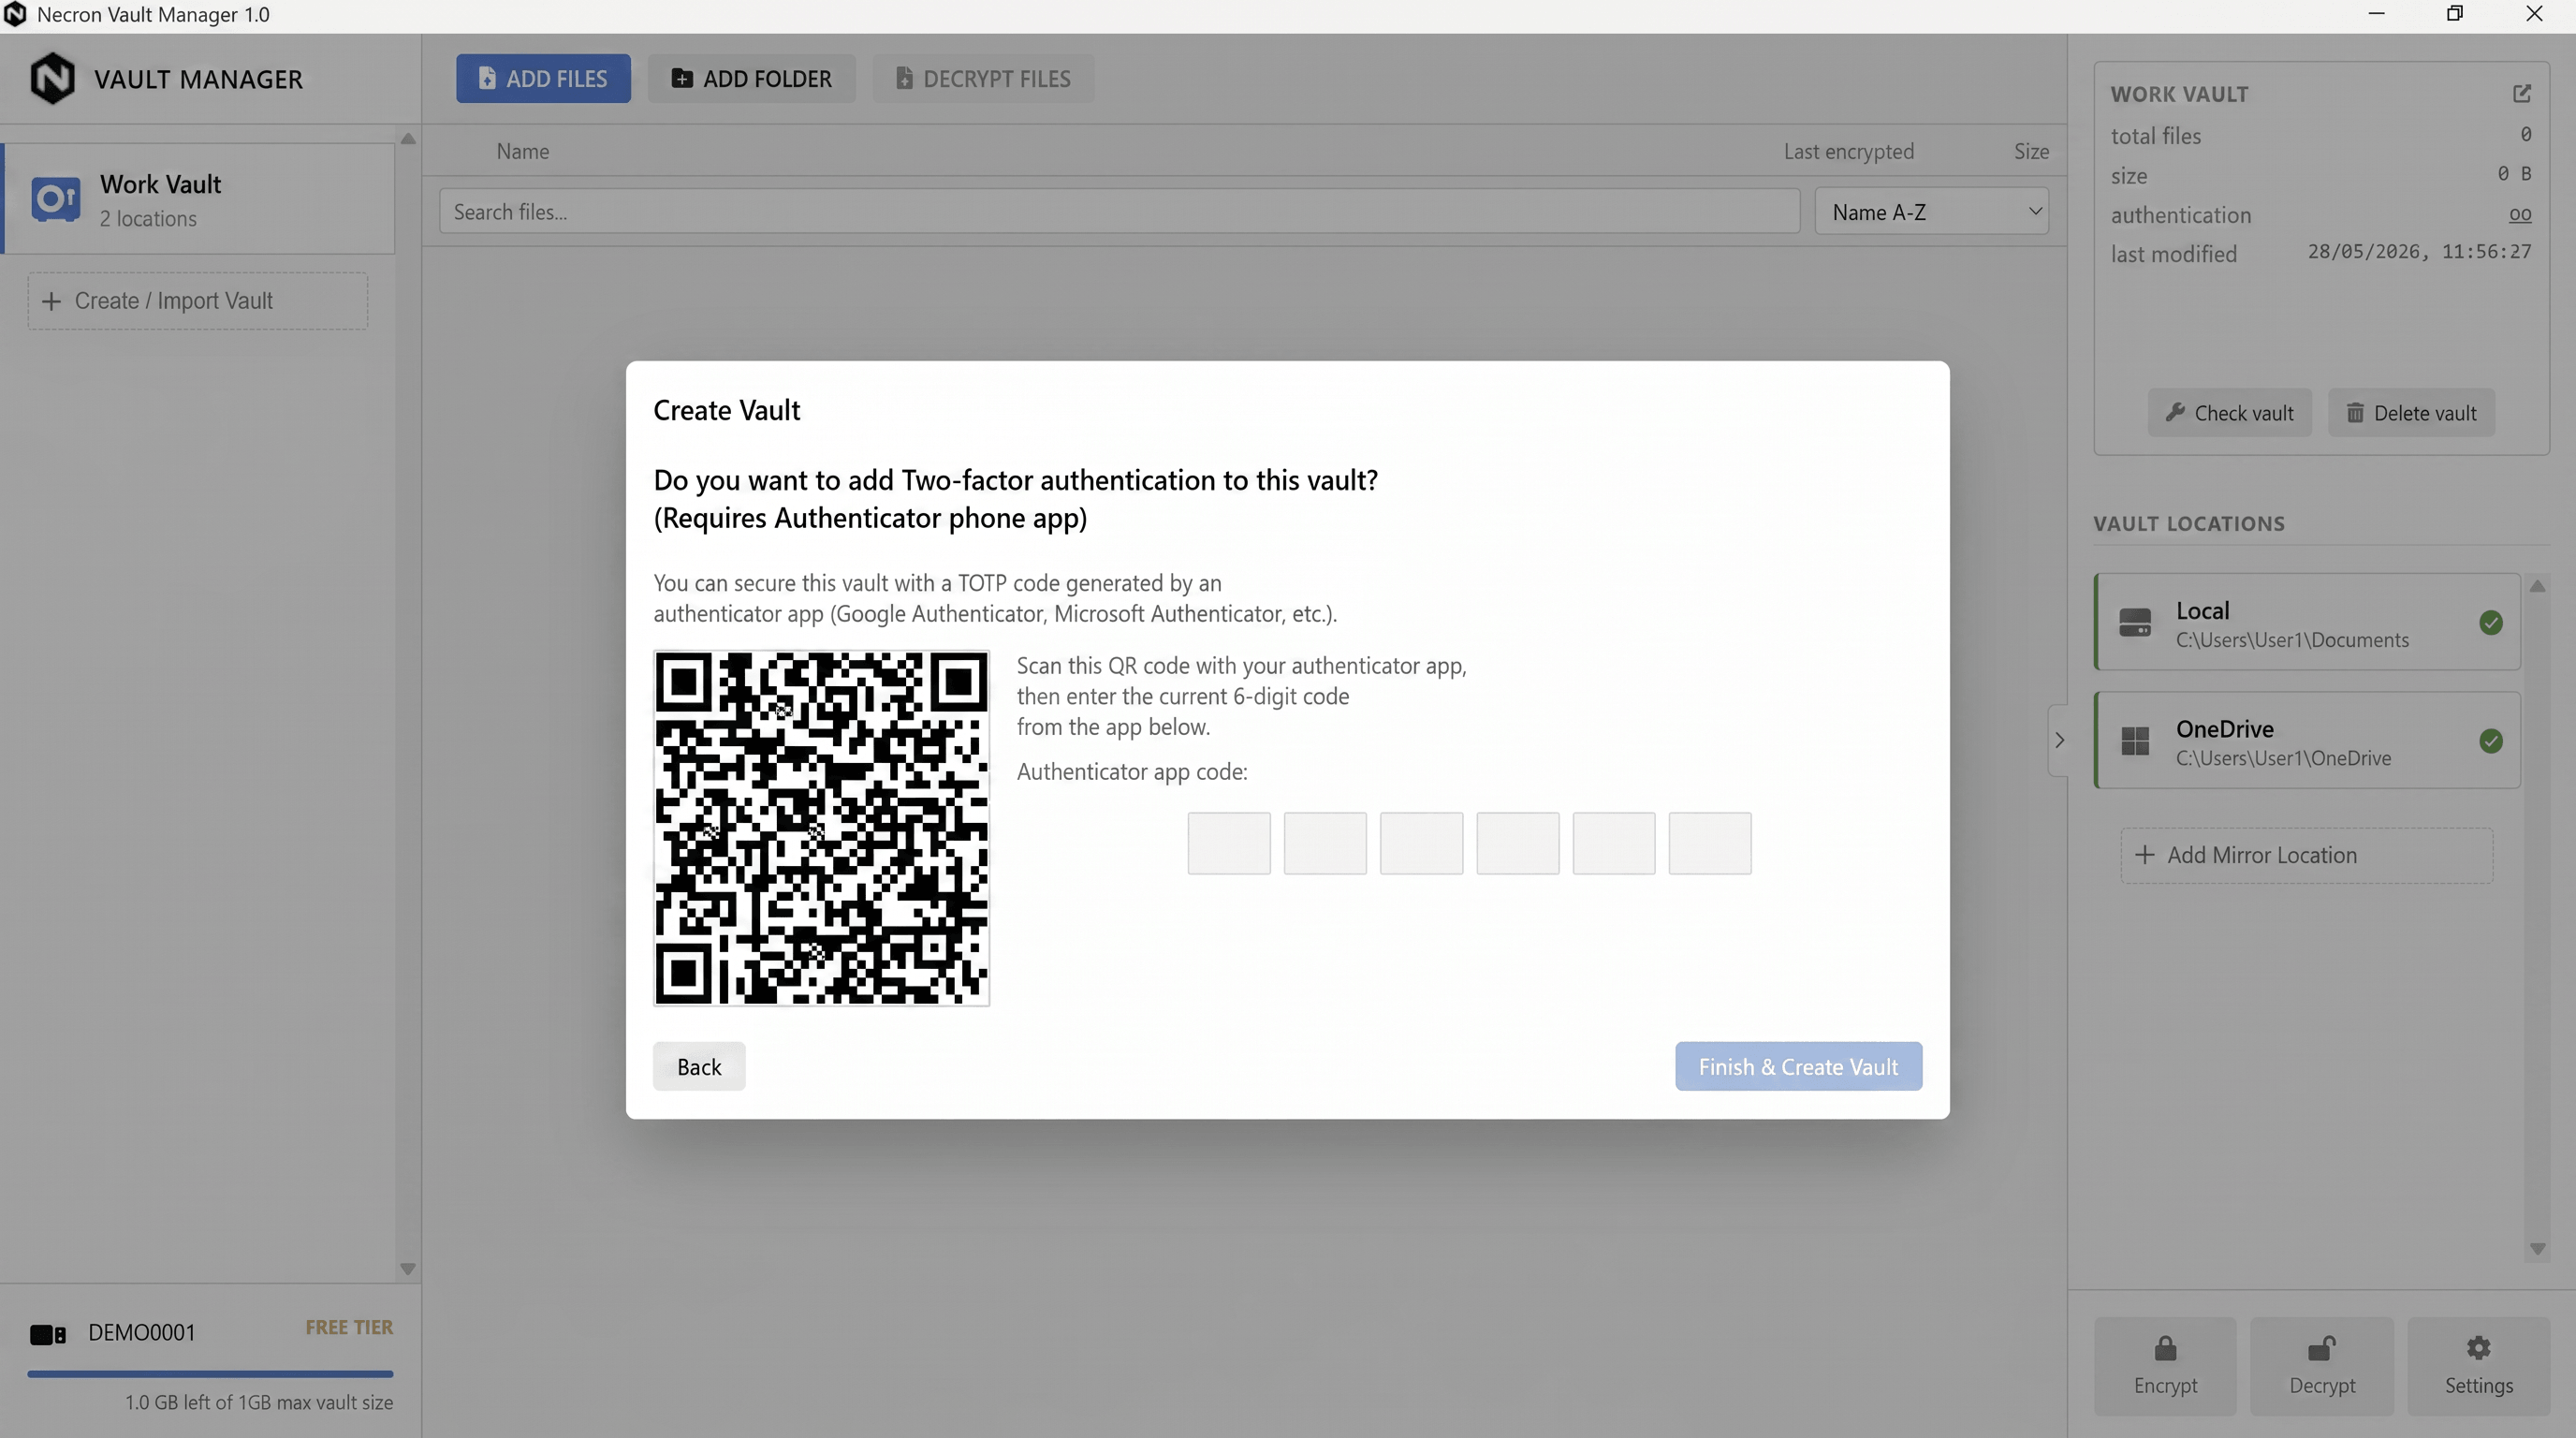
You can optionally protect the vault with TOTP using an authenticator app (such as Google Authenticator, Authy, or 1Password).
If you enable TOTP:
- Scan the QR code with your authenticator app
- Enter the 6-digit code from your authenticator to confirm
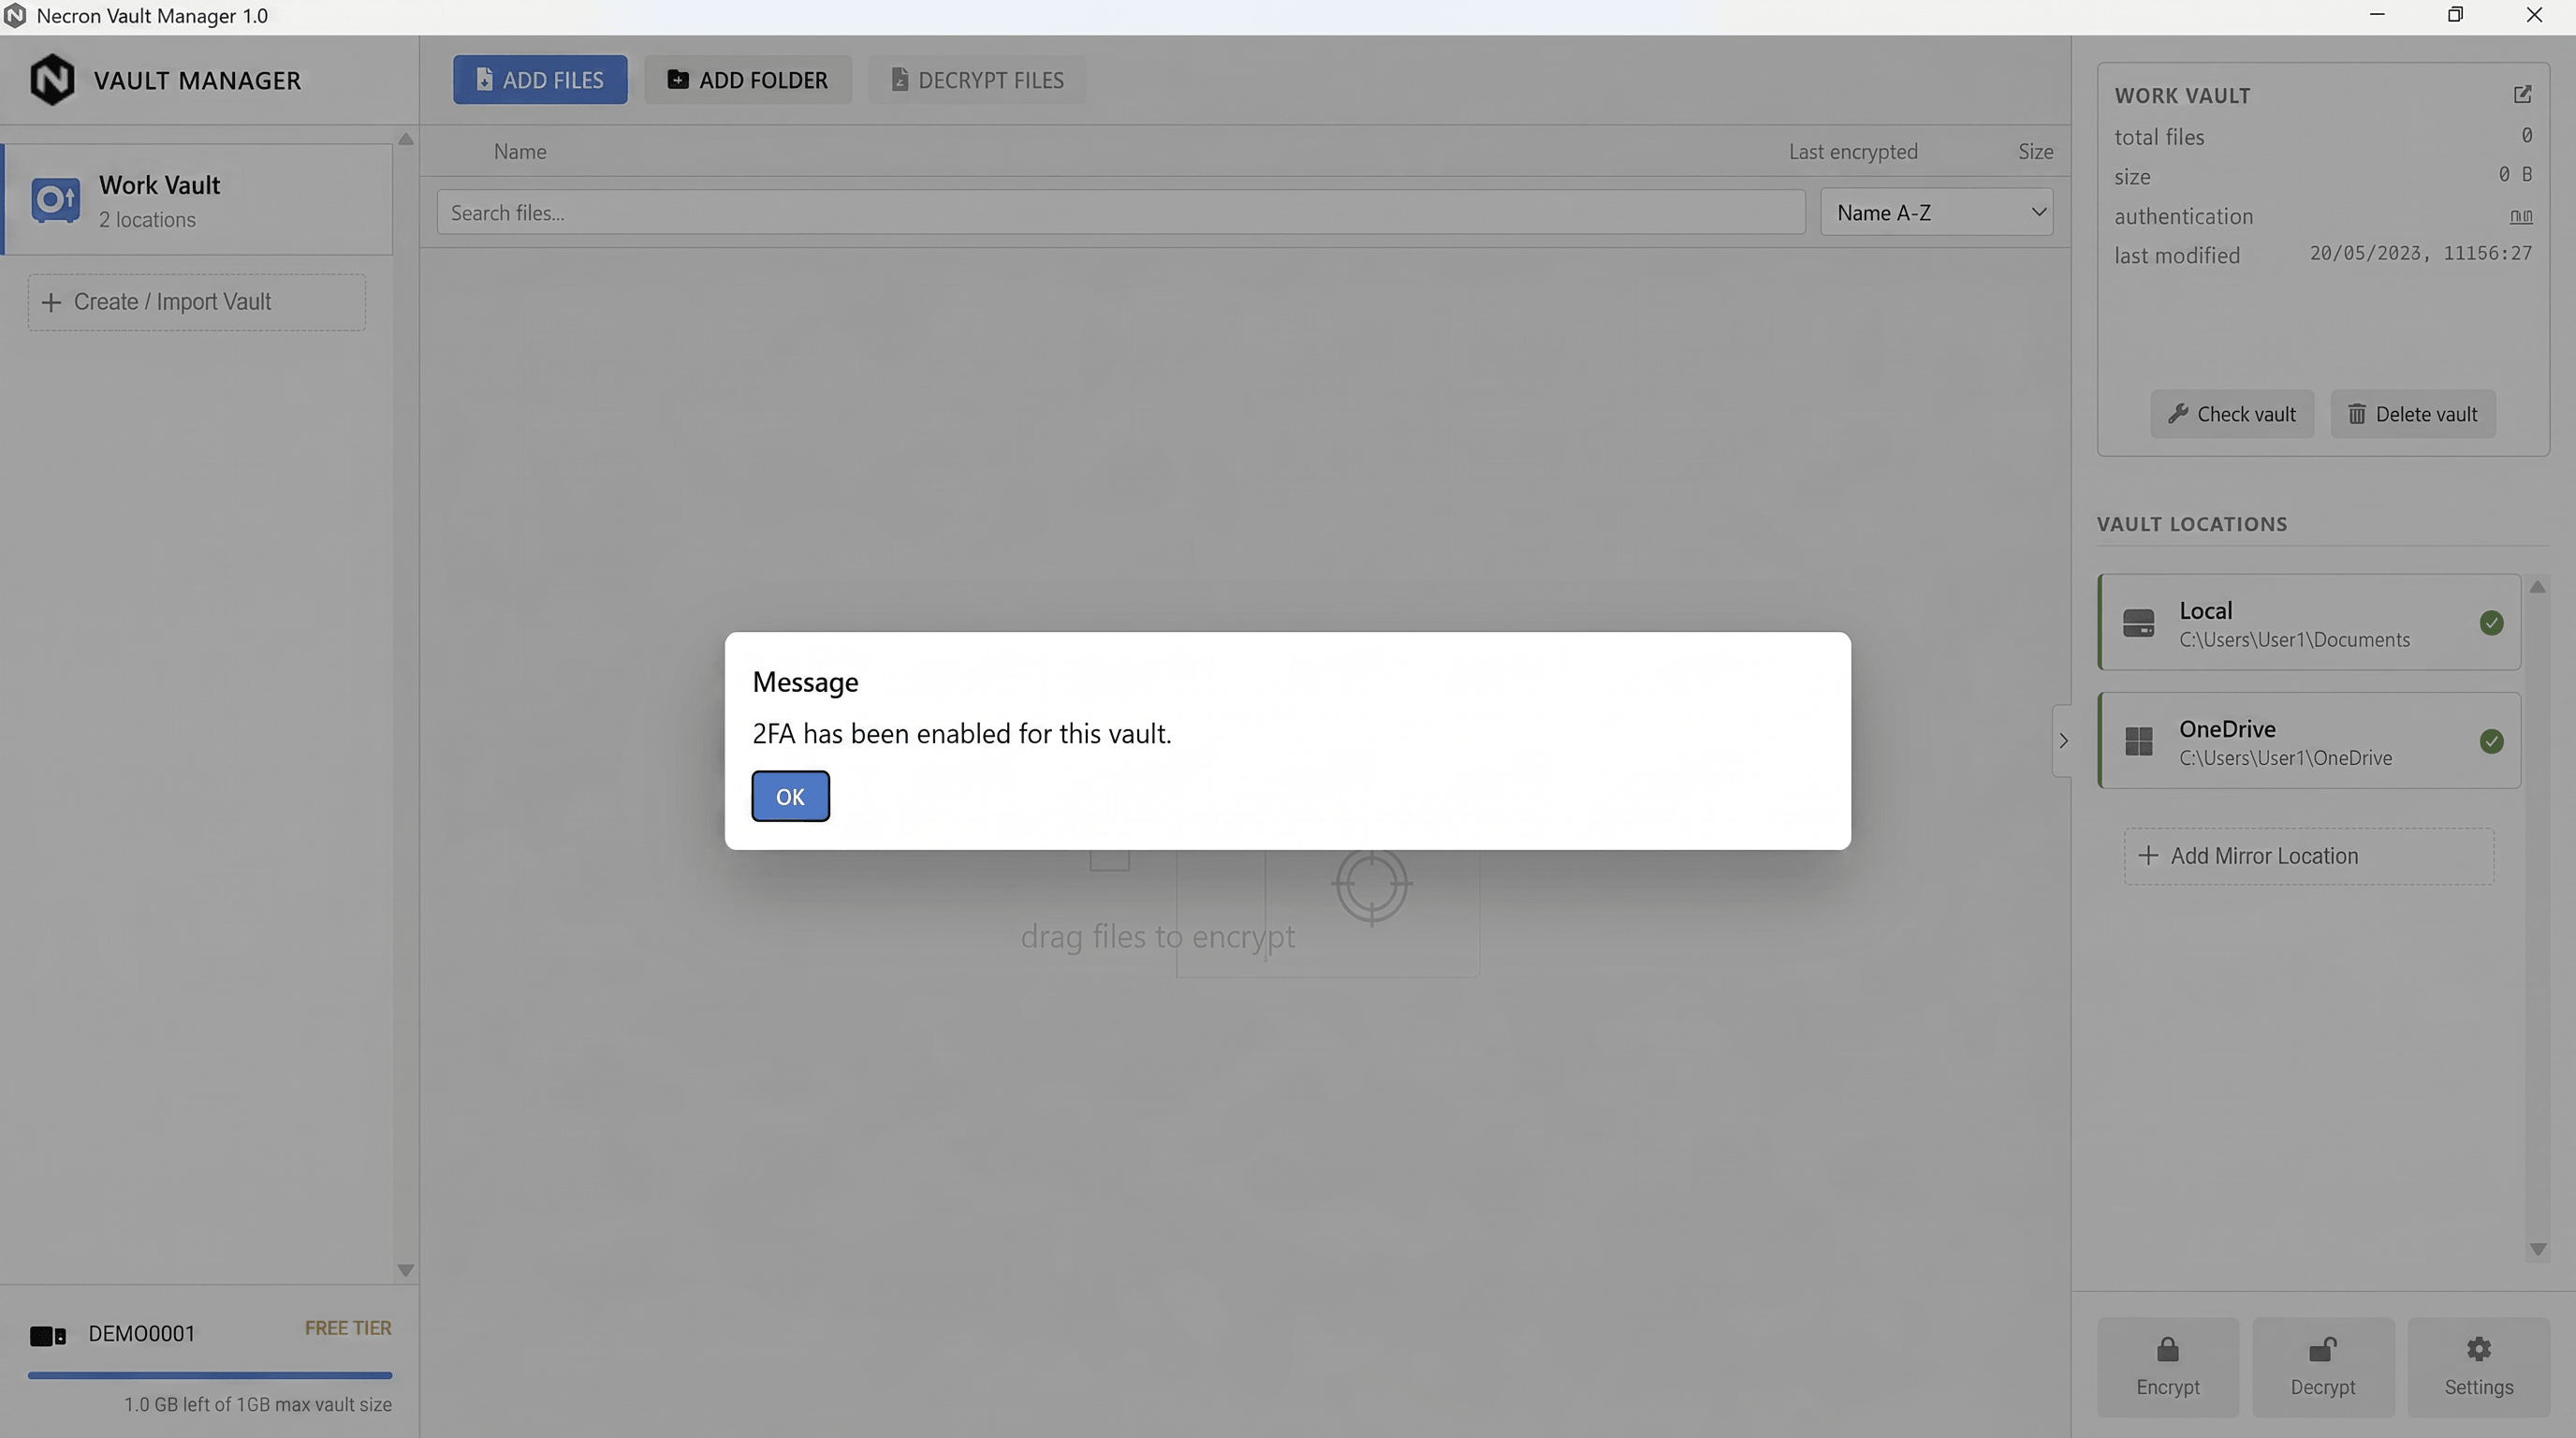
Once enabled, opening this vault requires both your Key Drive (something you have) and your TOTP code (something you know).
Note
TOTP authentication can be added or removed later from the vault inspector panel.
What Happens During Creation
When you click Create:
- A unique vault identifier is generated
- The vault configuration (name, locations, 2FA settings) is saved securely to your Key Drive
- The vault's folder structure is created at each storage location
- Backup information is saved for recovery purposes
Vault Limits
| Feature | Free Tier | Pro Tier |
|---|---|---|
| Number of vaults | 1 | Unlimited |
| Locations per vault | Unlimited | Unlimited |
| TOTP authentication | ✓ | ✓ |
| Vault health check | ✓ | ✓ |
| Self-healing across locations | ✓ | ✓ |
Next Steps
- Adding Locations — add more storage mirrors to an existing vault
- Vault Browser — navigate and manage files inside your vault
- Importing Files to a Vault — encrypt files into the vault