Installation & Setup
Necron Vault Manager is available for Windows, macOS, and Linux. This guide walks you through downloading, installing, and launching the application for the first time.
Download
Visit necronsolutions.com to download the latest installer for your platform:
| Platform | Installer |
|---|---|
| Windows | .exe installer |
| macOS | .dmg disk image |
| Linux | .deb (Debian/Ubuntu) or .AppImage |
The download page always offers the most recent stable release.
Tip
Bookmark the download page so you can easily check for updates. Major version upgrades are announced on the website and in-app.
System Requirements
Before installing, make sure your system meets the minimum requirements:
| Component | Minimum | Recommended |
|---|---|---|
| Operating System | Windows 10 / macOS 12 / Ubuntu 22.04 | Latest stable release |
| RAM | 4 GB | 8 GB |
| Disk Space | 200 MB | 500 MB (with vaults) |
| USB Port | USB 2.0 | USB 3.0+ (for Key Drive users) |
For full details, see the System Requirements page.
Installation Steps
Windows
- Download the
.exeinstaller from necronsolutions.com - Double-click the downloaded file
- Follow the on-screen wizard — accept the license, choose your install directory, and click Install
- Launch from the Start Menu or desktop shortcut
macOS
- Download the
.dmgfile from necronsolutions.com - Open the
.dmgand drag Necron Vault Manager into your Applications folder - Launch from Applications or Spotlight search
Note
On first launch, macOS may show a security prompt. Click Open to confirm you trust the application.
Linux
- Download the
.debpackage or.AppImagefrom necronsolutions.com - Install:
- Debian/Ubuntu:
sudo dpkg -i necron-vault-manager_*.deb - AppImage: Make executable with
chmod +xand run directly
- Debian/Ubuntu:
- Launch from your application menu or terminal
Verifying the Installation
After installation:
- Open Necron Vault Manager from your system's application launcher
- The main window should appear with the title "Necron Vault Manager"
If the application does not launch, check the Troubleshooting & FAQ page.
First Launch
When you first open Necron Vault Manager, you'll be greeted by the Gatekeeper screen. The app first scans for connected Key Drives.
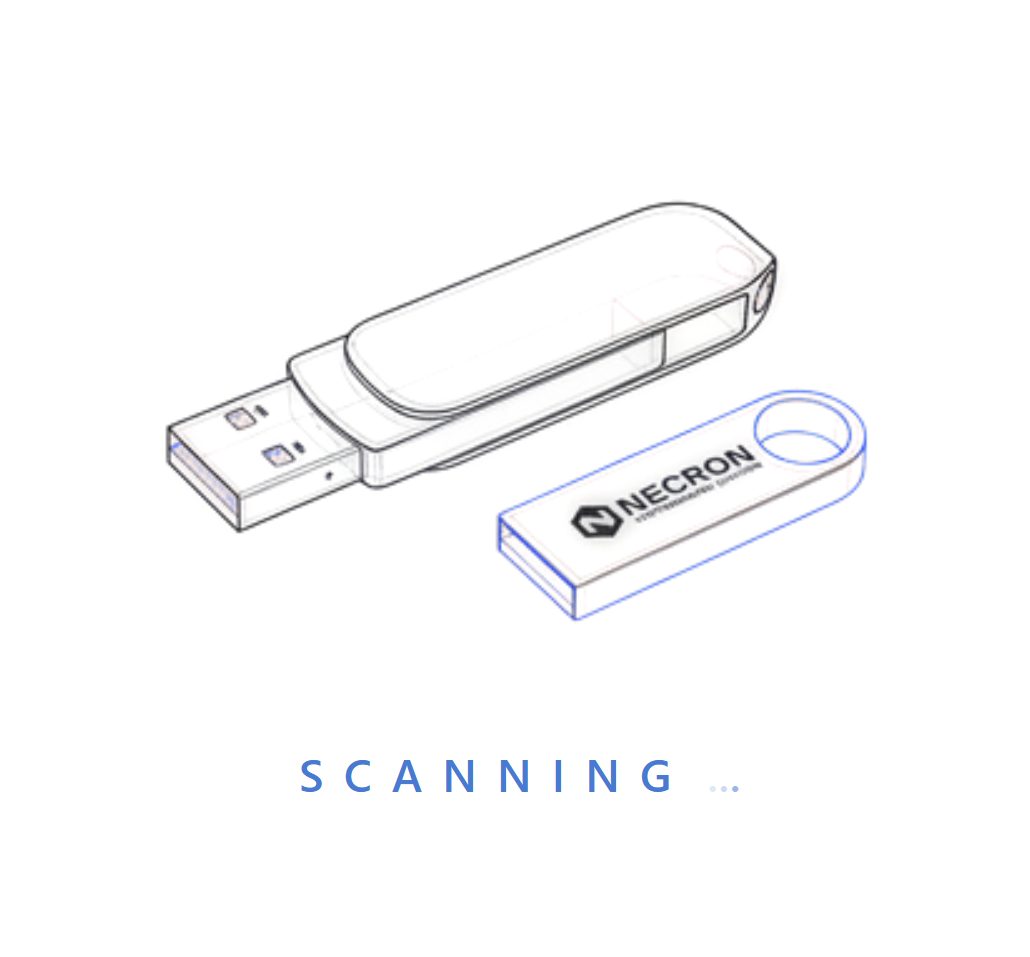
If none are found, you'll see the "NO KEY DRIVE DETECTED" prompt with two options:
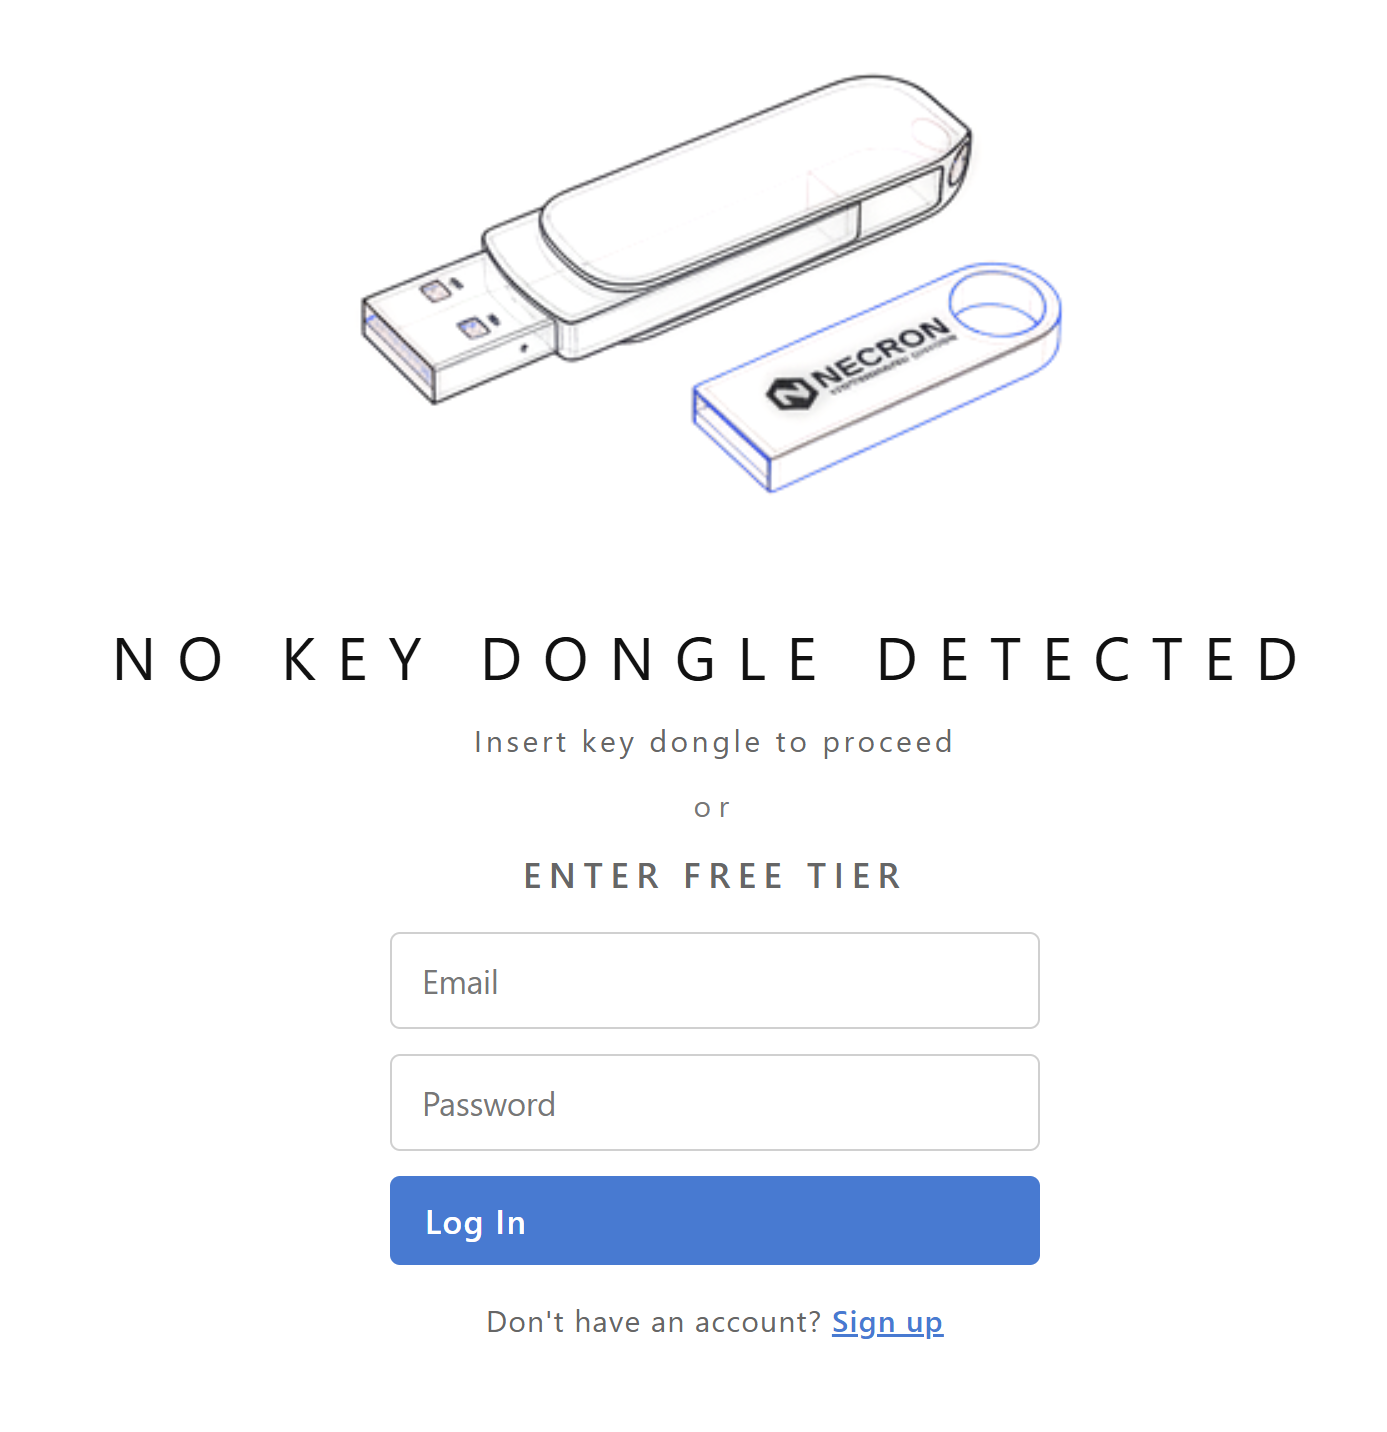
- Insert a Key Drive — if you have a Necron-provisioned Key Drive, plug it in. The app detects it automatically, verifies it with the server, and proceeds to the main interface.
- Enter Free Tier — log in with your email and password to activate the built-in software key. This provisions a local key with 20 MiB of random key material stored on your computer.
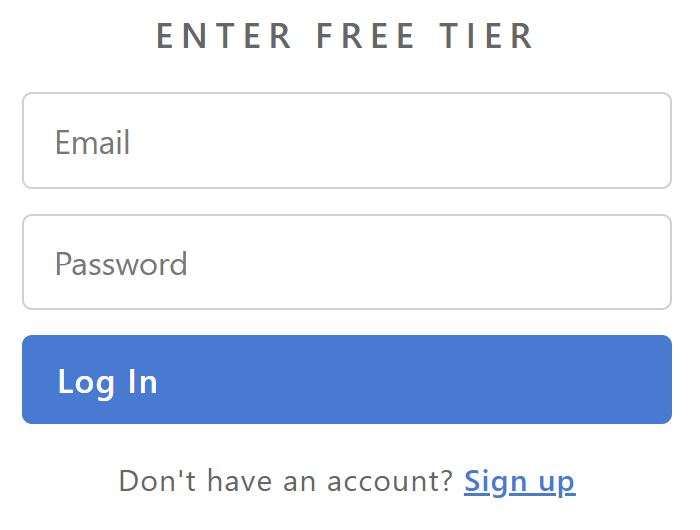
If you don't have an account, click the Sign up link below the login form to create one on the website.
Tip
You can always upgrade from Free to Pro later by purchasing a subscription and provisioning a Key Drive. Your existing encrypted files remain fully compatible.
Where Files Are Stored
Necron Vault Manager stores its configuration and software key data in your user profile:
| Data | Windows | macOS | Linux |
|---|---|---|---|
| Software key (Free tier) | %LOCALAPPDATA%\keymanager\demo\ |
~/Library/Application Support/keymanager/demo/ |
~/.local/share/keymanager/demo/ |
| Application settings | %LOCALAPPDATA%\keymanager\ |
~/Library/Application Support/keymanager/ |
~/.local/share/keymanager/ |
| Vault data | User-chosen directories | User-chosen directories | User-chosen directories |
Warning
Do not manually move or edit files in the application data directory. The software key is encrypted at rest and bound to your user account — moving it to another machine will make it unusable.
Uninstalling
Windows
Open Settings → Apps → Installed apps, search for "Necron", and click Uninstall.
macOS
Drag Necron Vault Manager from Applications to the Trash.
Linux
Run sudo dpkg -r necron-vault-manager or delete the AppImage file.
Danger
Uninstalling the application does not delete your encrypted files or vault data. However, if you are using a software key (Free tier), the key data may be removed. Make sure you have decrypted any important files before uninstalling.
Next Steps
- Follow the Quick Start Guide to encrypt your first file
- Learn about the Interface Overview
- Explore the Key Drive Management page