Interface Overview
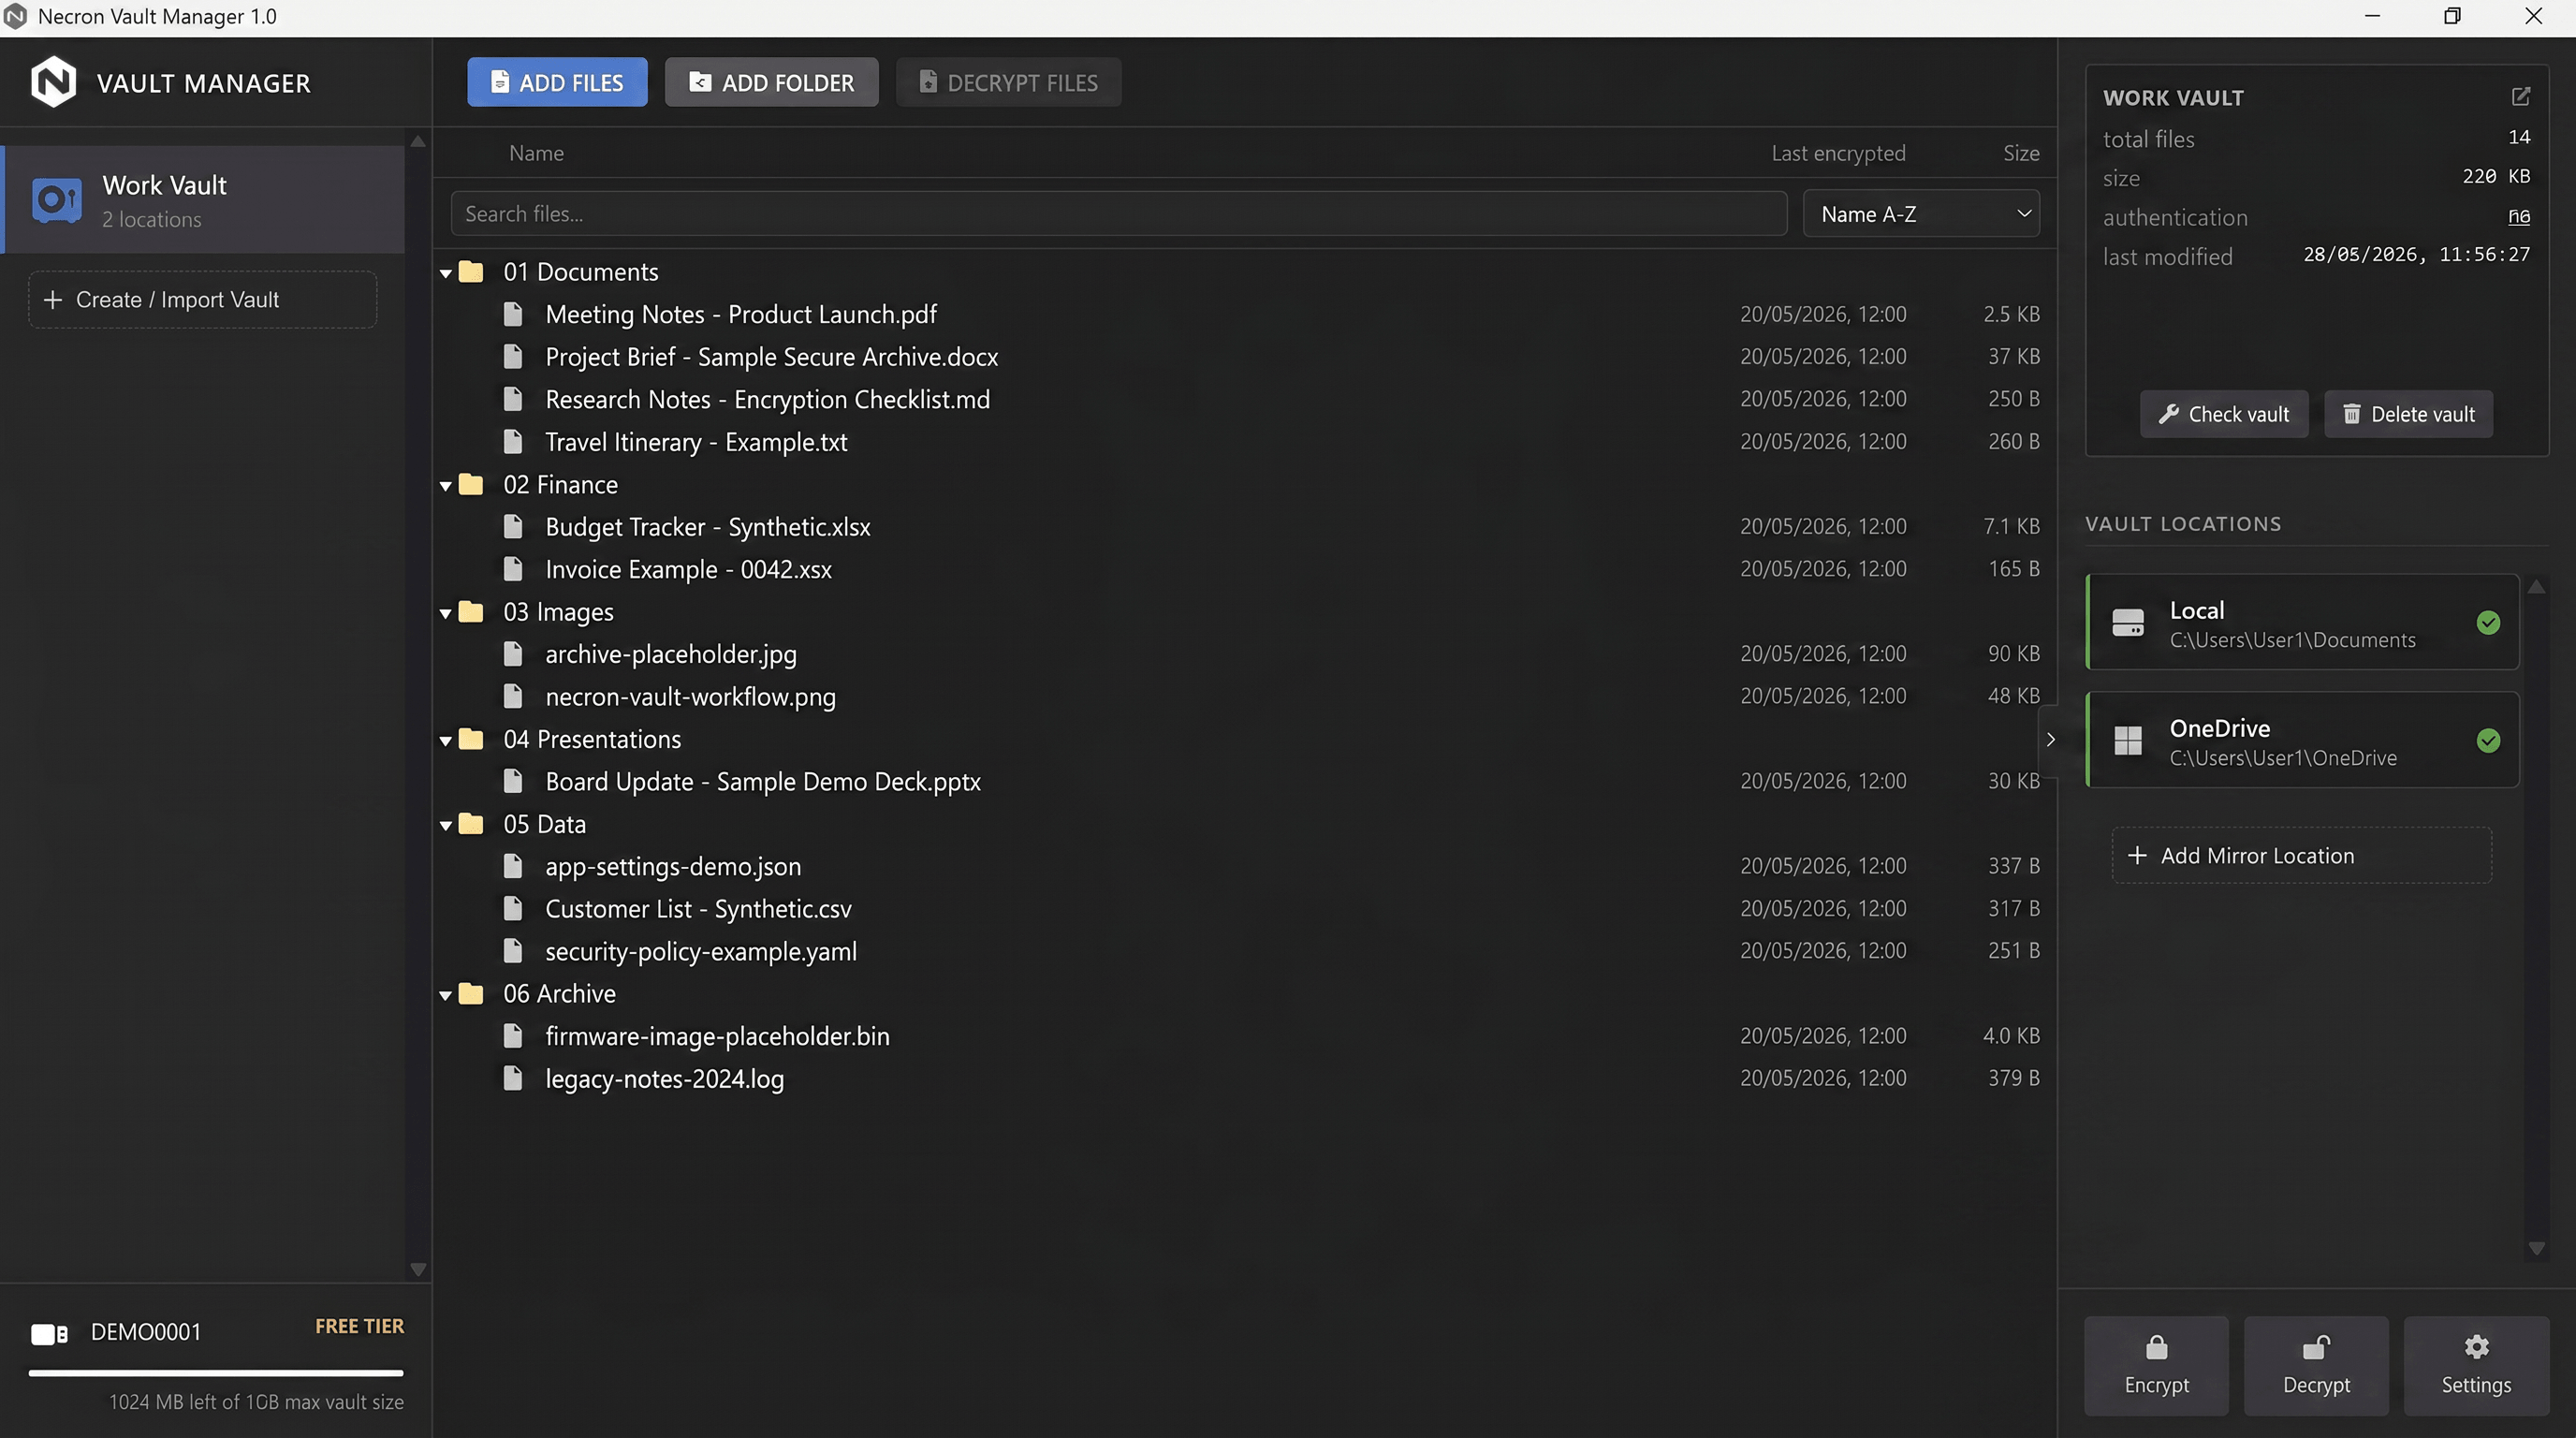
The Necron Vault Manager desktop app features a clean, modern interface designed for efficient encrypted file management. This page gives you a tour of every area of the interface.
Application Layout
The main window is divided into three regions:
- Sidebar (left) — your vault list and Key Drive status
- Central Content Area (center) — the vault browser where you see and manage your files
- Inspector Panel (right) — details, locations, and quick actions

Sidebar
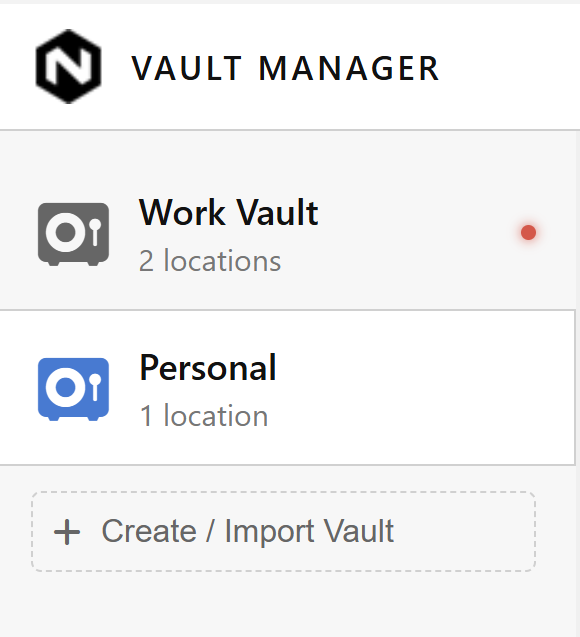
The left sidebar is your main navigation hub:
Vault List
At the top, your vaults are listed. Click any vault to open it in the central area.
At the bottom of the vault list, the Create Vault button opens the vault creation wizard.
Key Drive Status Card
At the bottom of the sidebar, a clickable card shows:
- Key Drive key name — the name of the connected key
- Status — CONNECTED (green) or DISCONNECTED (red)
- Capacity bar (Free tier only) — a visual progress bar showing how much of the 1 GB encrypted file limit is in use

Click it to trigger a manual rescan if your Key Drive isn't showing up.
Tip
The Key Drive status card is always visible, giving you constant awareness of your connection state. Free tier accounts also see a capacity bar showing their current encrypted file usage against the 1 GB limit.
Toolbar
The toolbar sits at the top of the central area and provides quick access to file operations:

| Button | Description |
|---|---|
| ADD FILES | Select files to import (encrypt) into the current vault |
| ADD FOLDER | Select a folder to import into the current vault |
| DECRYPT FILES | Decrypt selected files from the vault browser |
Note
Toolbar buttons are disabled until a vault is open and a Key Drive is connected.
Central Content Area
The large central area displays the Vault Browser when a vault is open.
Vault Browser
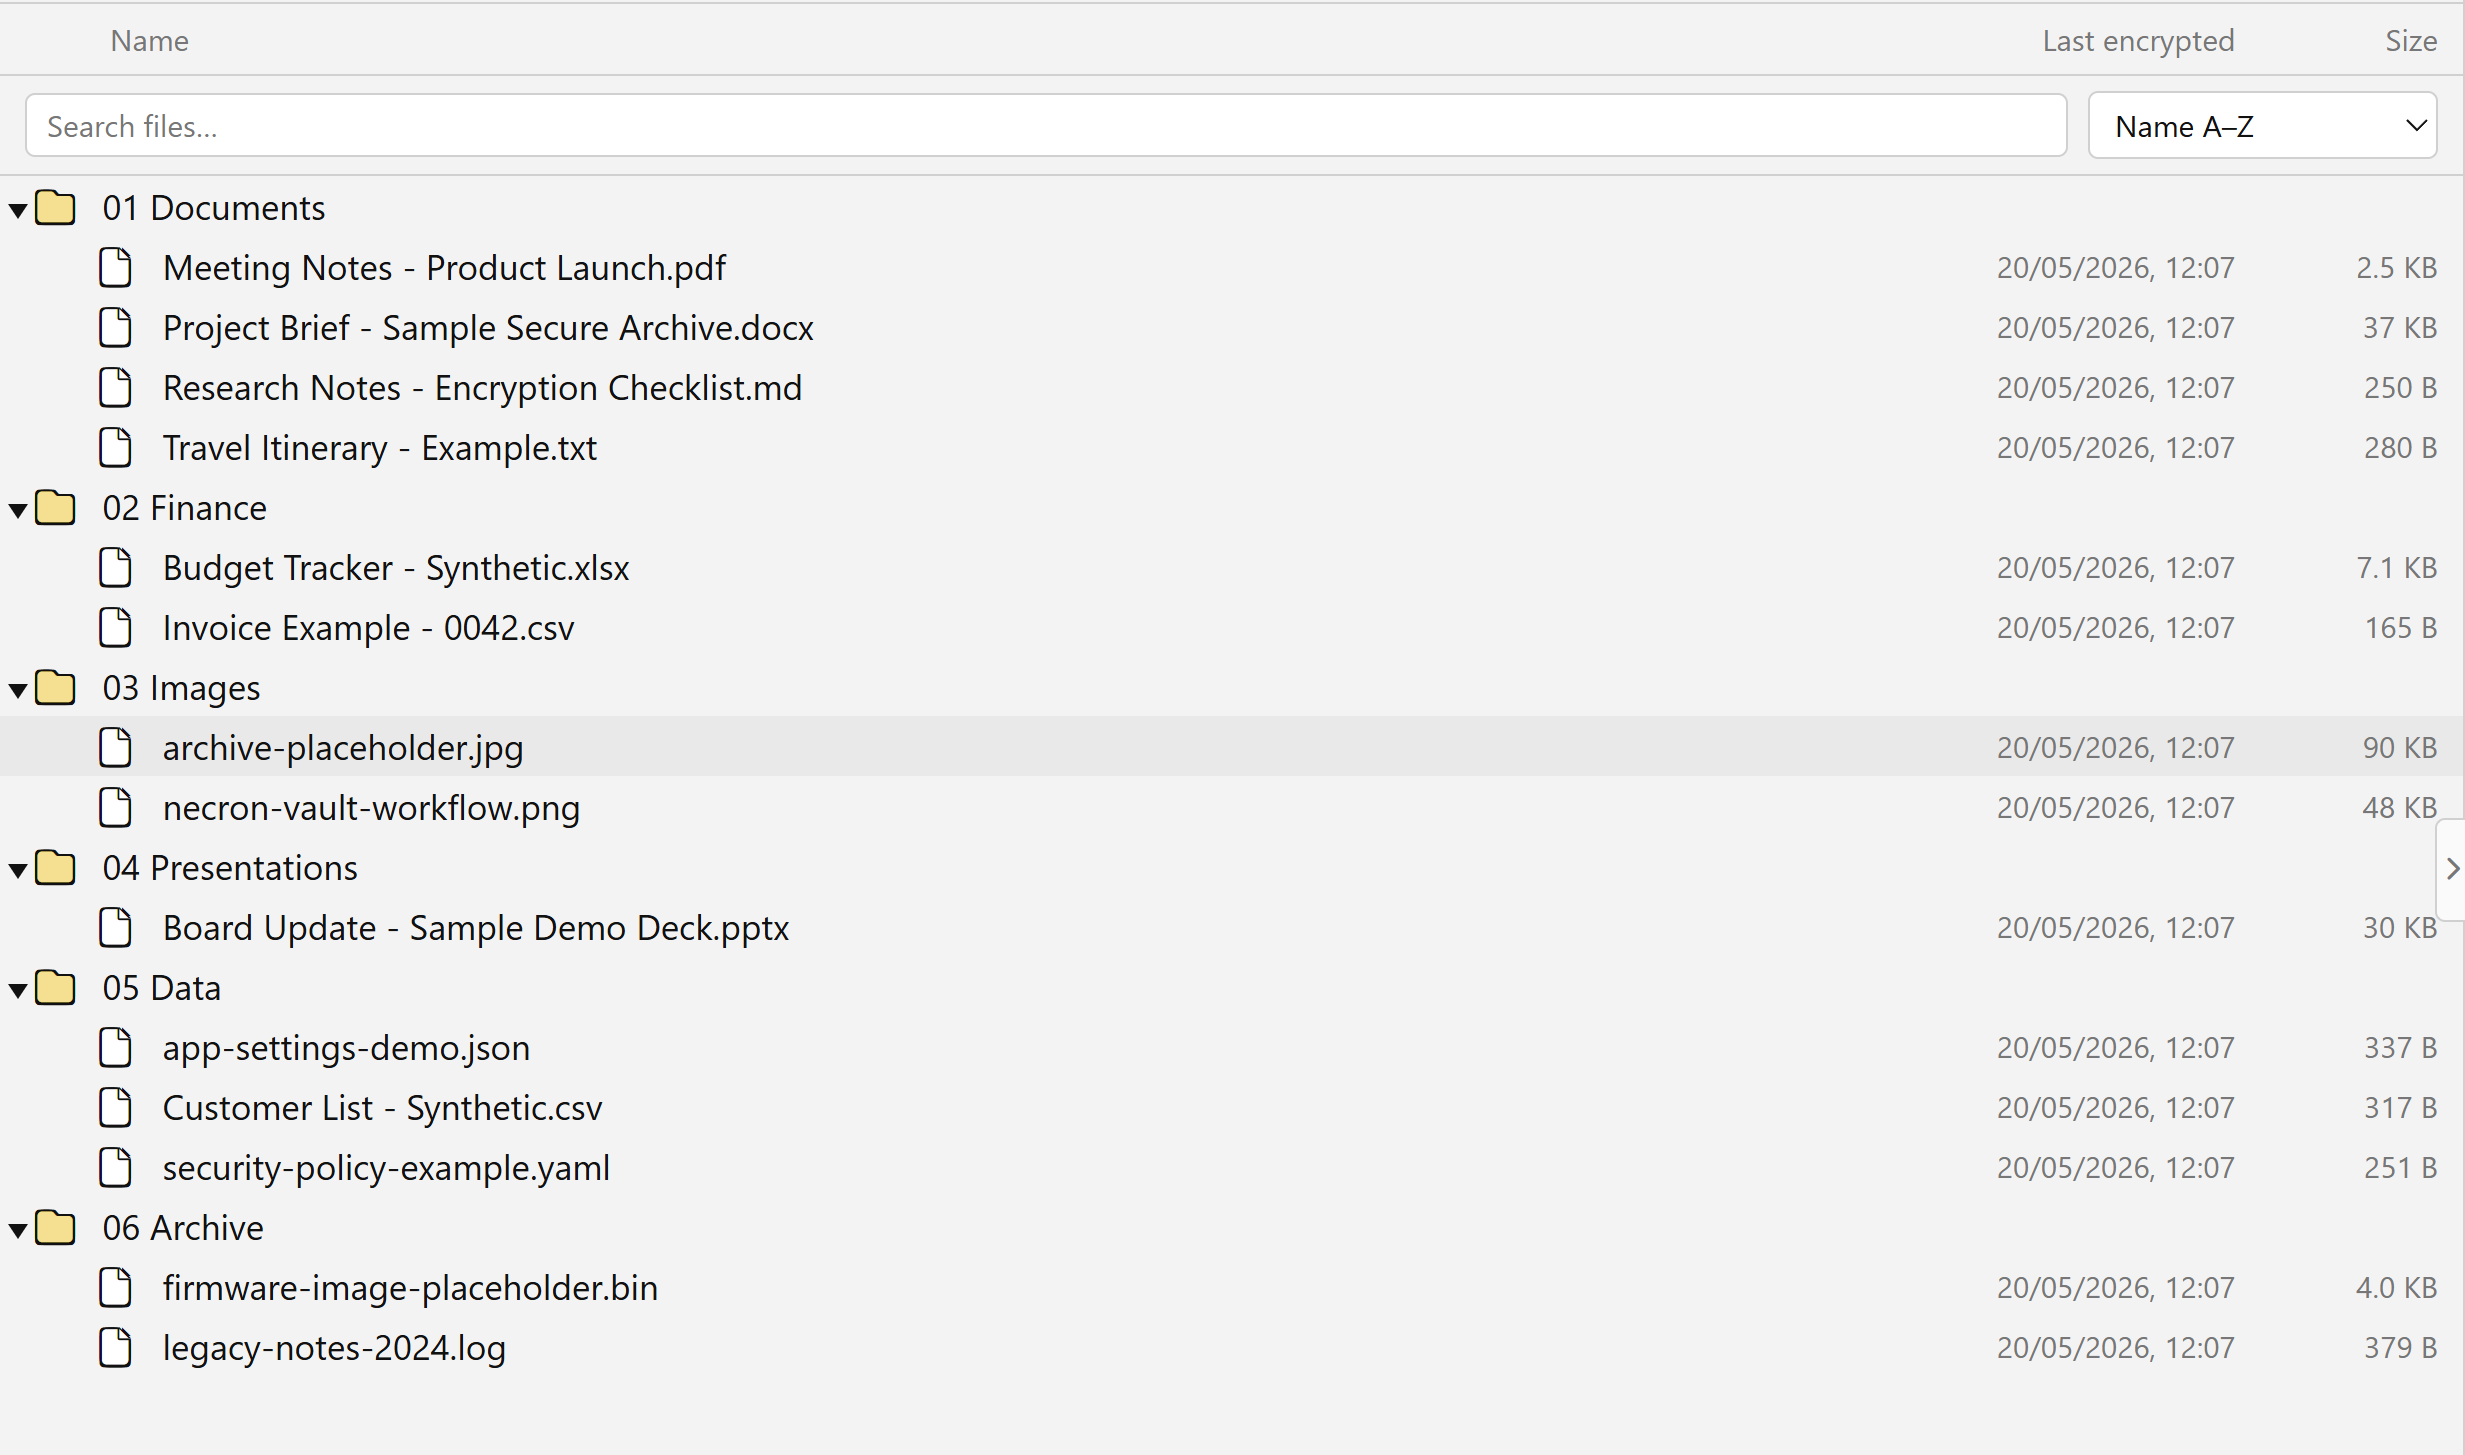
The vault browser is a file/folder tree showing:
| Column | Description |
|---|---|
| Name | File or folder name |
| Last encrypted | When the file was last encrypted |
| Size | Original file size |
Above the tree, you can search files by name and sort by various criteria.
The tree supports:
- Expand/collapse folders
- Single and multi-select
- Right-click context menu — open for edit, rename, delete, and more
- Double-click a file to open it for editing
- Drag-and-drop — drag files from your desktop into the vault to import them
Inspector Panel
The right-hand panel provides context-sensitive information and actions. It has a collapsible toggle to show/hide.
Selection Card
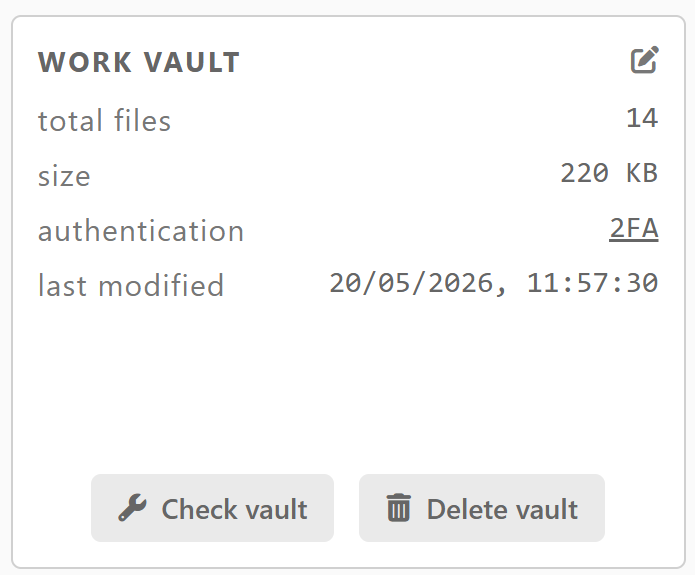
Shows details about the currently selected vault:
| Field | Description |
|---|---|
| Total files | Number of files in the vault |
| Size | Total size of vault contents |
| Authentication | Whether TOTP authentication is enabled |
| Last modified | Most recent modification timestamp |
Below the details are two action buttons:
- Check vault — runs a full health check across all vault locations (see Vault Health & Repair)
- Delete vault — opens a confirmation to delete the vault
Vault Locations
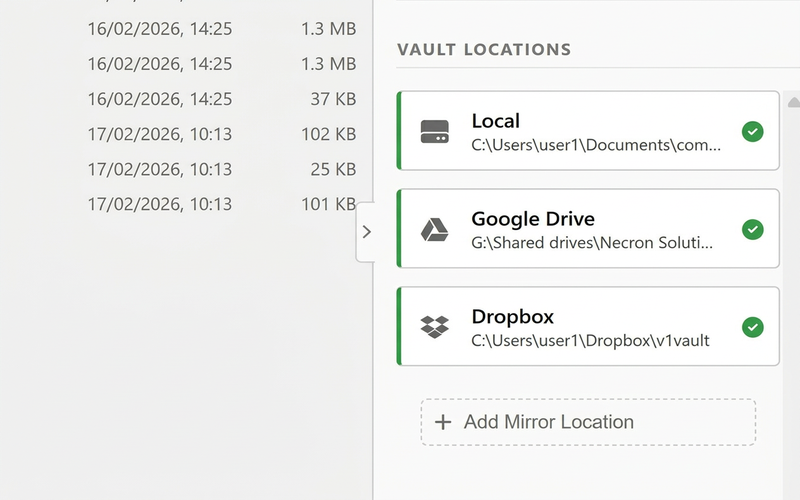
Lists all storage locations for the open vault, showing provider type, path, and status (online/offline).
Footer Action Tiles
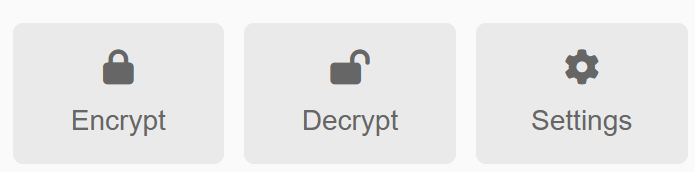
At the bottom of the inspector, three action tiles provide quick access:
| Tile | Description |
|---|---|
| Encrypt | Open the Quick Encrypt workflow |
| Decrypt | Open the Quick Decrypt workflow |
| Settings | Open the Settings modal (see Settings & Preferences) |
Gatekeeper Screen
Before reaching the main interface, users pass through the Gatekeeper — a login/activation screen at startup:
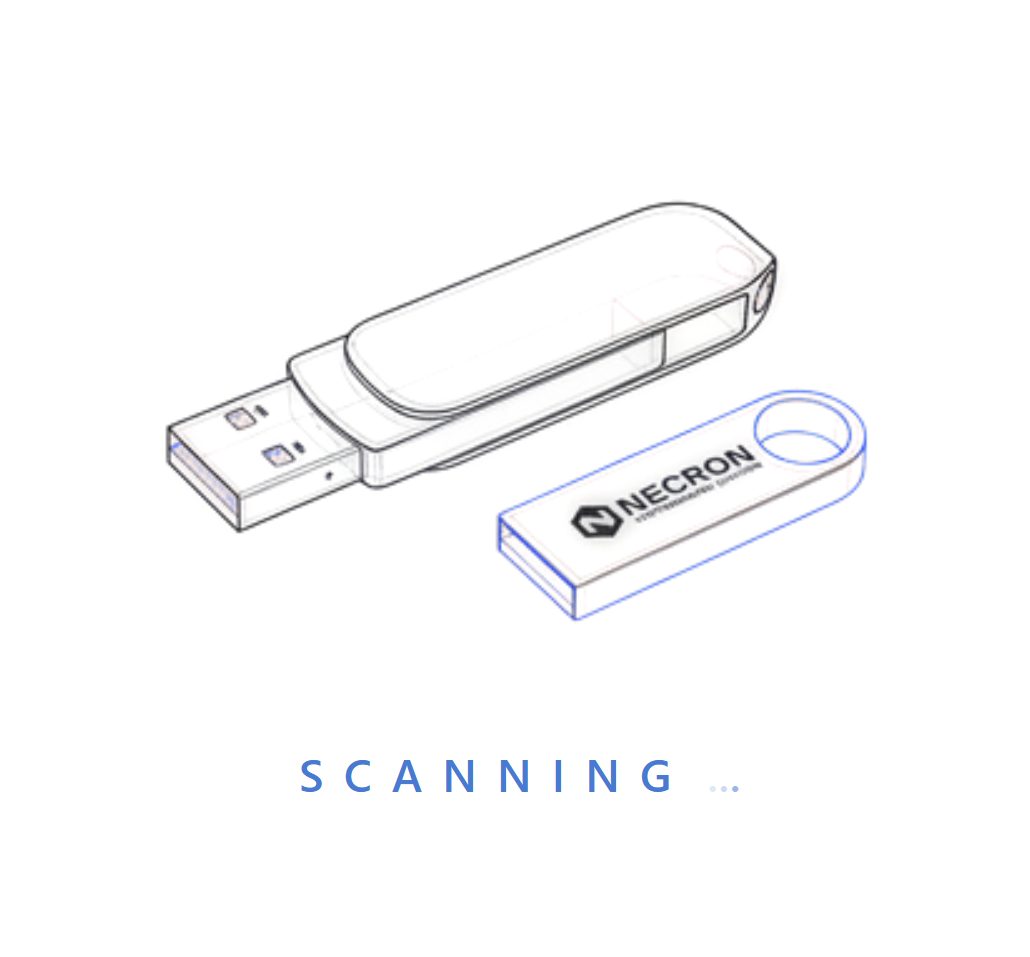
- Key Drive detected — the app verifies it and proceeds to the main interface
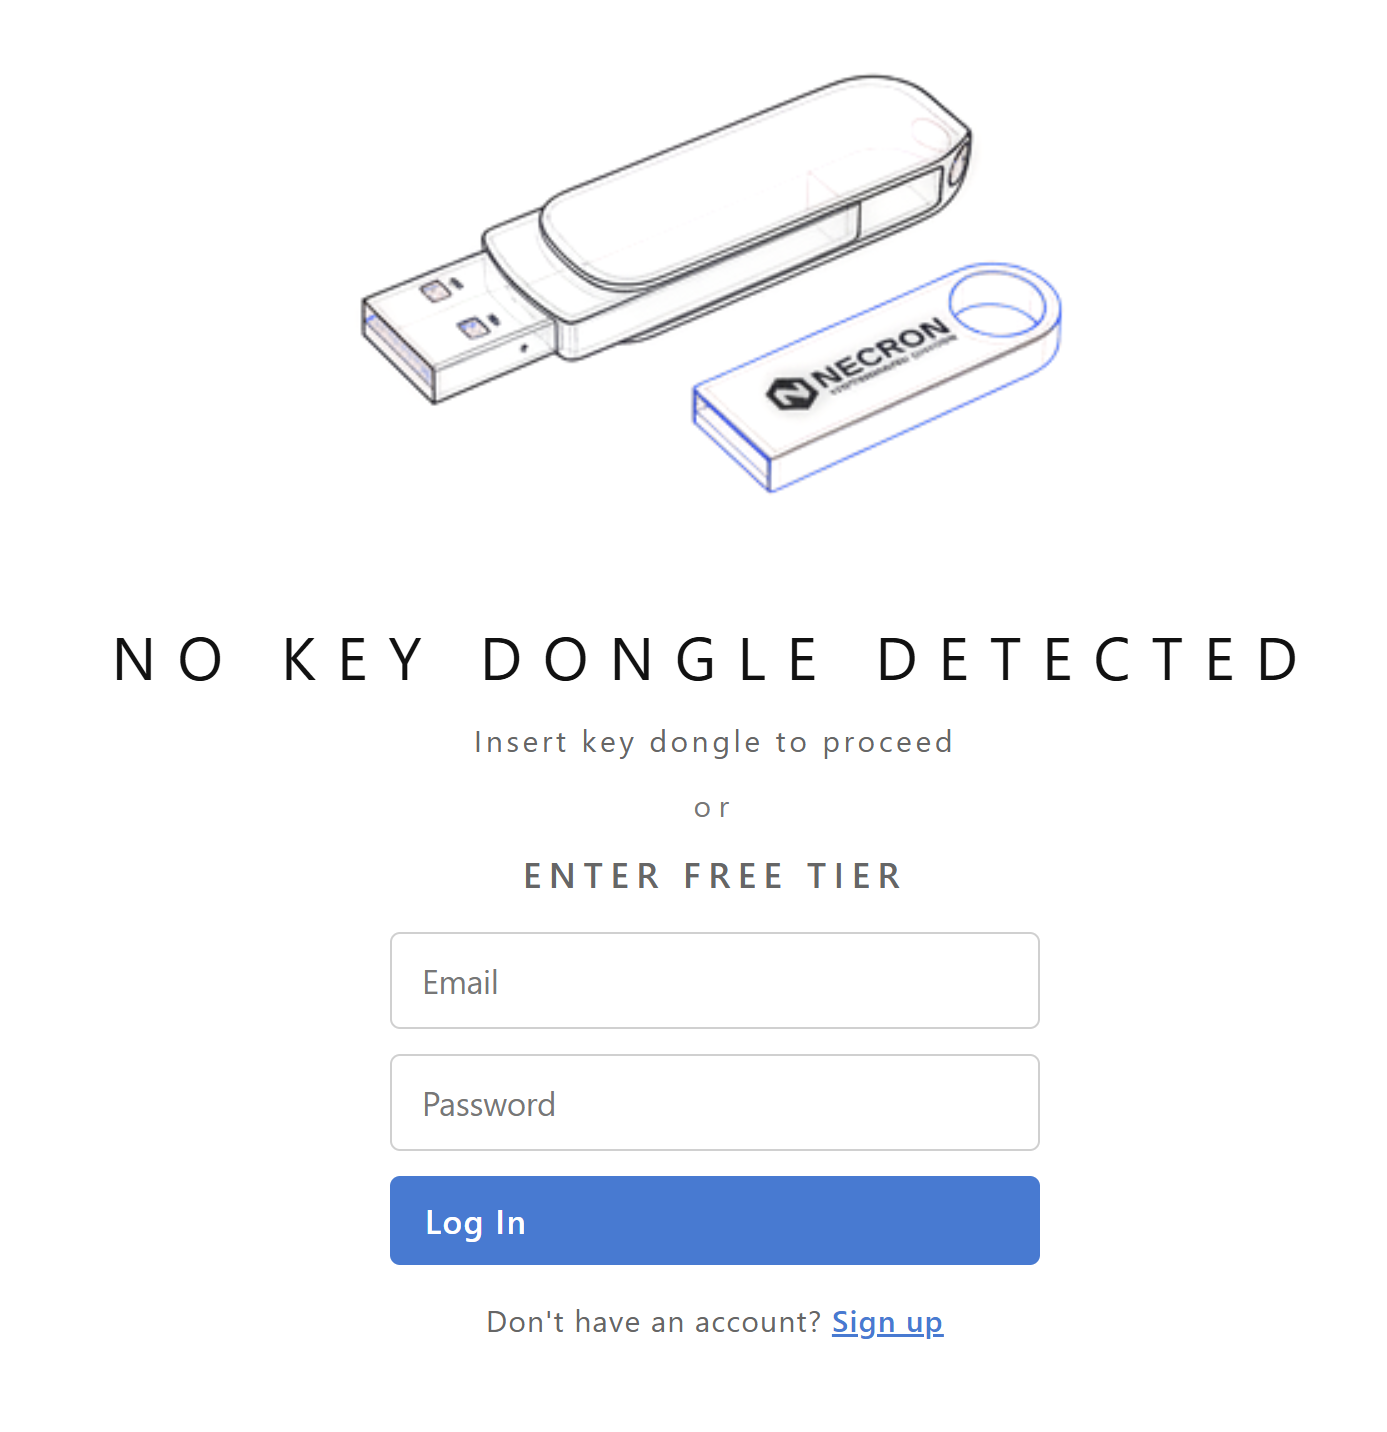
- No Key Drive detected — presents options to insert a Key Drive, log in with Free Tier, or sign up
Note
The Gatekeeper only appears at startup. Once you're in the app, inserting or removing a Key Drive updates the sidebar dynamically.
Dark Mode
Necron Vault Manager supports both light and dark color themes. Switch between them in Settings → Appearance.