Quick Start Guide
This guide walks you through encrypting and decrypting your first file with Necron Vault Manager. You'll be up and running in under 5 minutes.
Prerequisites
Before you begin, make sure you have:
- Necron Vault Manager installed — see the Installation Guide
- A Key Drive plugged in, or a Free Tier account (software key)
Step 1: Launch the App
Open Necron Vault Manager from your application launcher. You'll see the Gatekeeper lock screen.
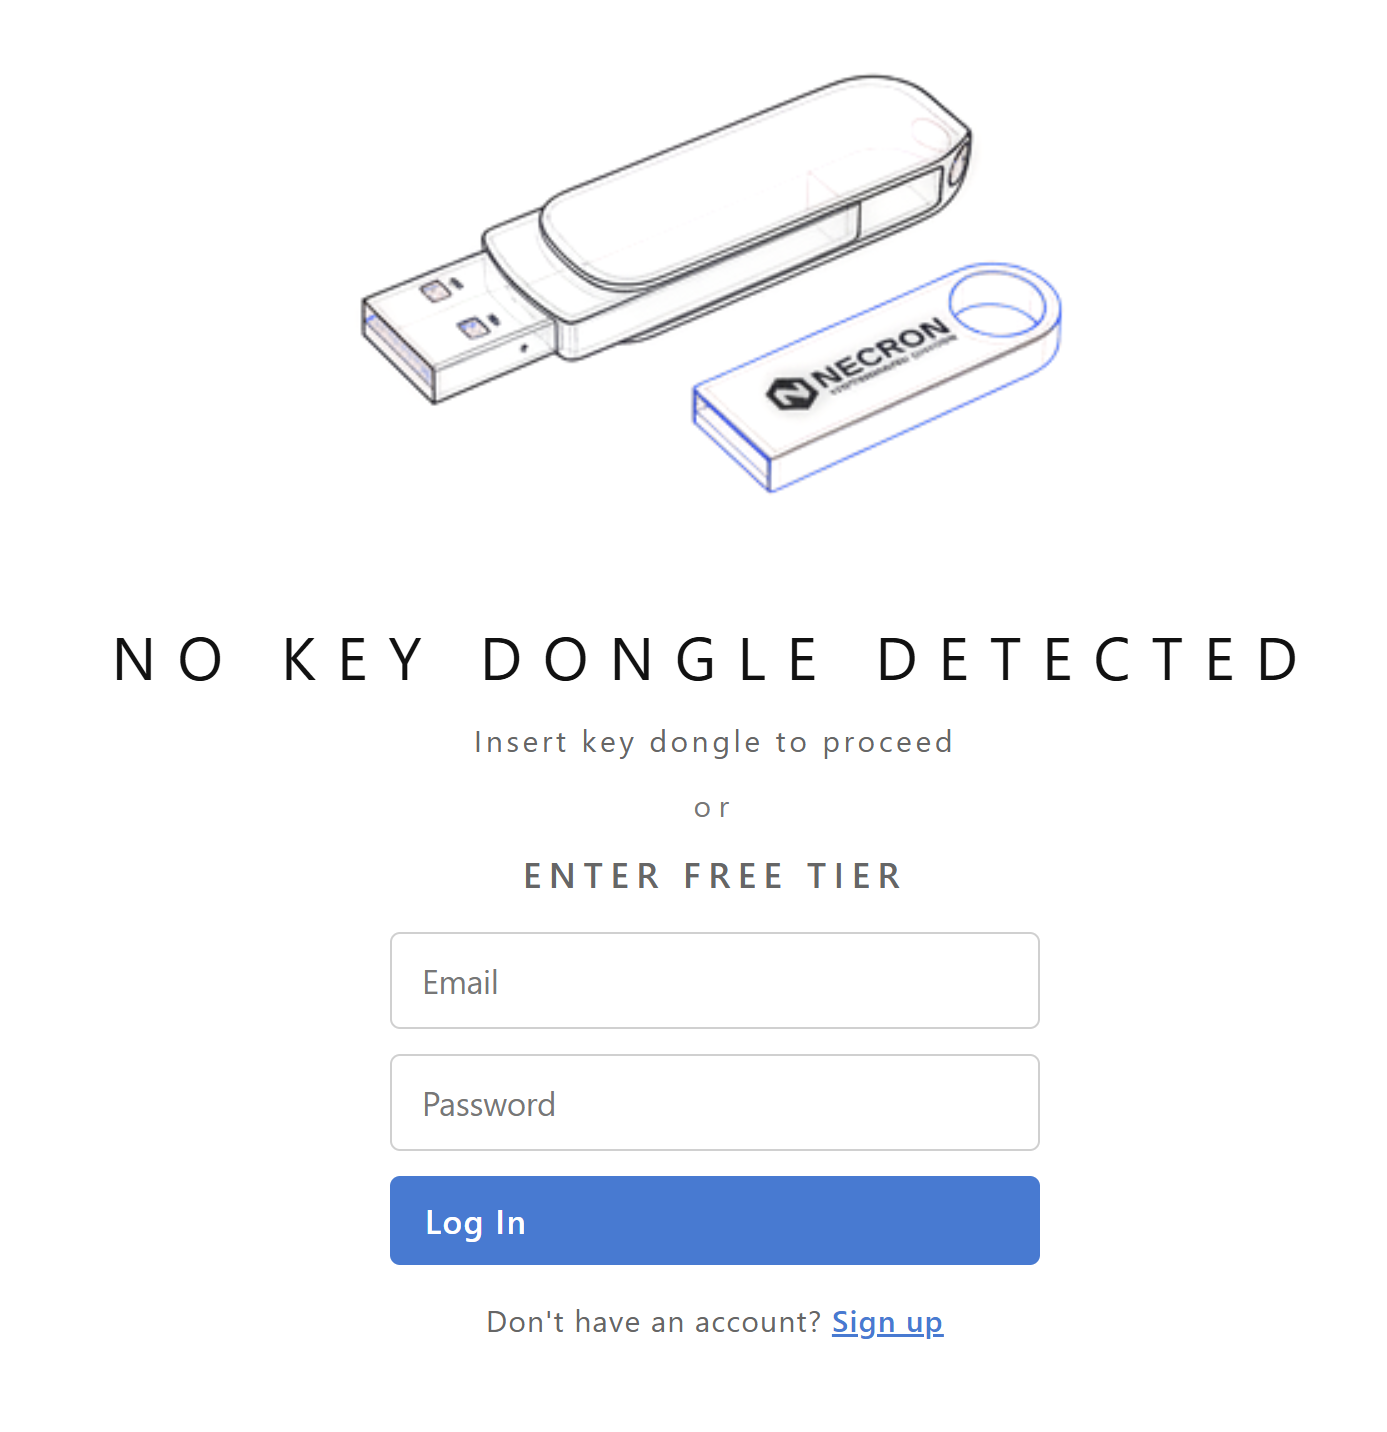
- If you have a Key Drive, plug it in — the Gatekeeper scans for it automatically and takes you to the main interface.
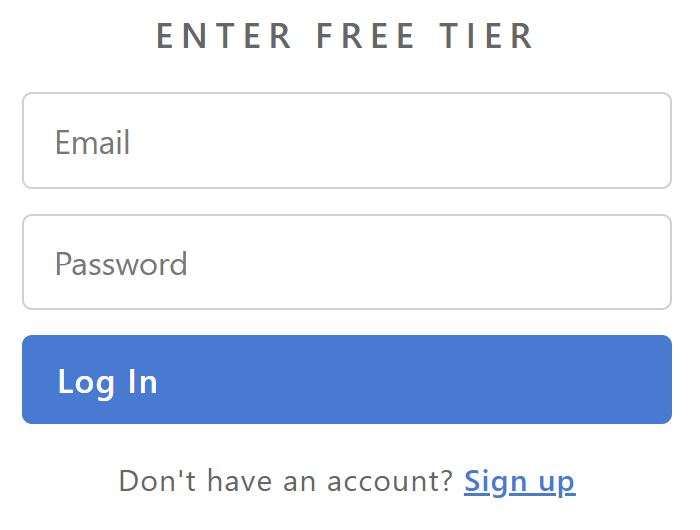
- If you're using the Free Tier, enter your email and password in the login form under "ENTER FREE TIER" and click Log In. If you don't have an account yet, click "Sign up" to create one.
Step 2: Explore the Main Interface
Once past the Gatekeeper, you'll see the main application window with three panels:

- Sidebar on the left — your vault list at the top (with a "Create / Import Vault" button) and the Key Drive status card at the bottom showing your connected key and encryption status
- Center stage — the vault browser showing your encrypted files in a tree view with Name, Last encrypted, and Size columns
- Inspector on the right — a selection card with vault metadata, vault locations, and three footer action tiles: Encrypt, Decrypt, and Settings
- Toolbar across the top of the center stage — ADD FILES, ADD FOLDER, and DECRYPT FILES buttons
Tip
The Key Drive status card at the bottom of the sidebar shows your key connection status. For Free tier accounts, a capacity bar indicates your current encrypted file usage against the 1 GB limit.
Step 3: Create a Vault
Before encrypting files, you need a vault to store them:
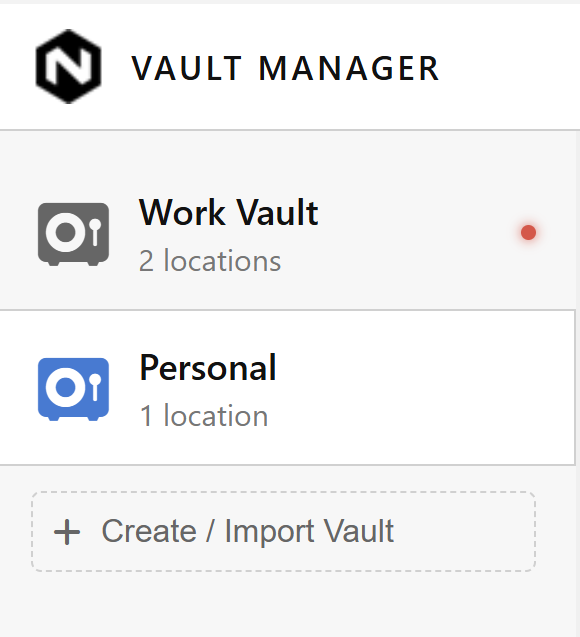
- Click Create / Import Vault in the sidebar
- Follow the wizard to name your vault and choose at least one storage location (a folder on your local drive, external drive, or cloud-synced folder). For cloud locations, the folder must be mounted and all files saved on your device.
- Once created, the vault appears in the sidebar and the vault browser shows its contents
Step 4: Encrypt Files into the Vault
The primary way to encrypt files is by adding them to a vault:

- Select a vault in the sidebar
- Click ADD FILES in the toolbar to select files from a file picker — or click ADD FOLDER to add an entire directory
- The files are encrypted and imported into the vault automatically
You can also use the Quick Encrypt feature for standalone encryption (outside of a vault):
- Click the Encrypt tile in the inspector footer
- A Quick Encrypt modal opens — add files, optionally choose a destination, and click Encrypt
- Files are encrypted as standalone
.ncrnfiles
Note
Quick Encrypt always produces .ncrn files. You can optionally enable filename encryption, which replaces the original filename with an encrypted token.
Step 5: Decrypt Files
To decrypt files from a vault:
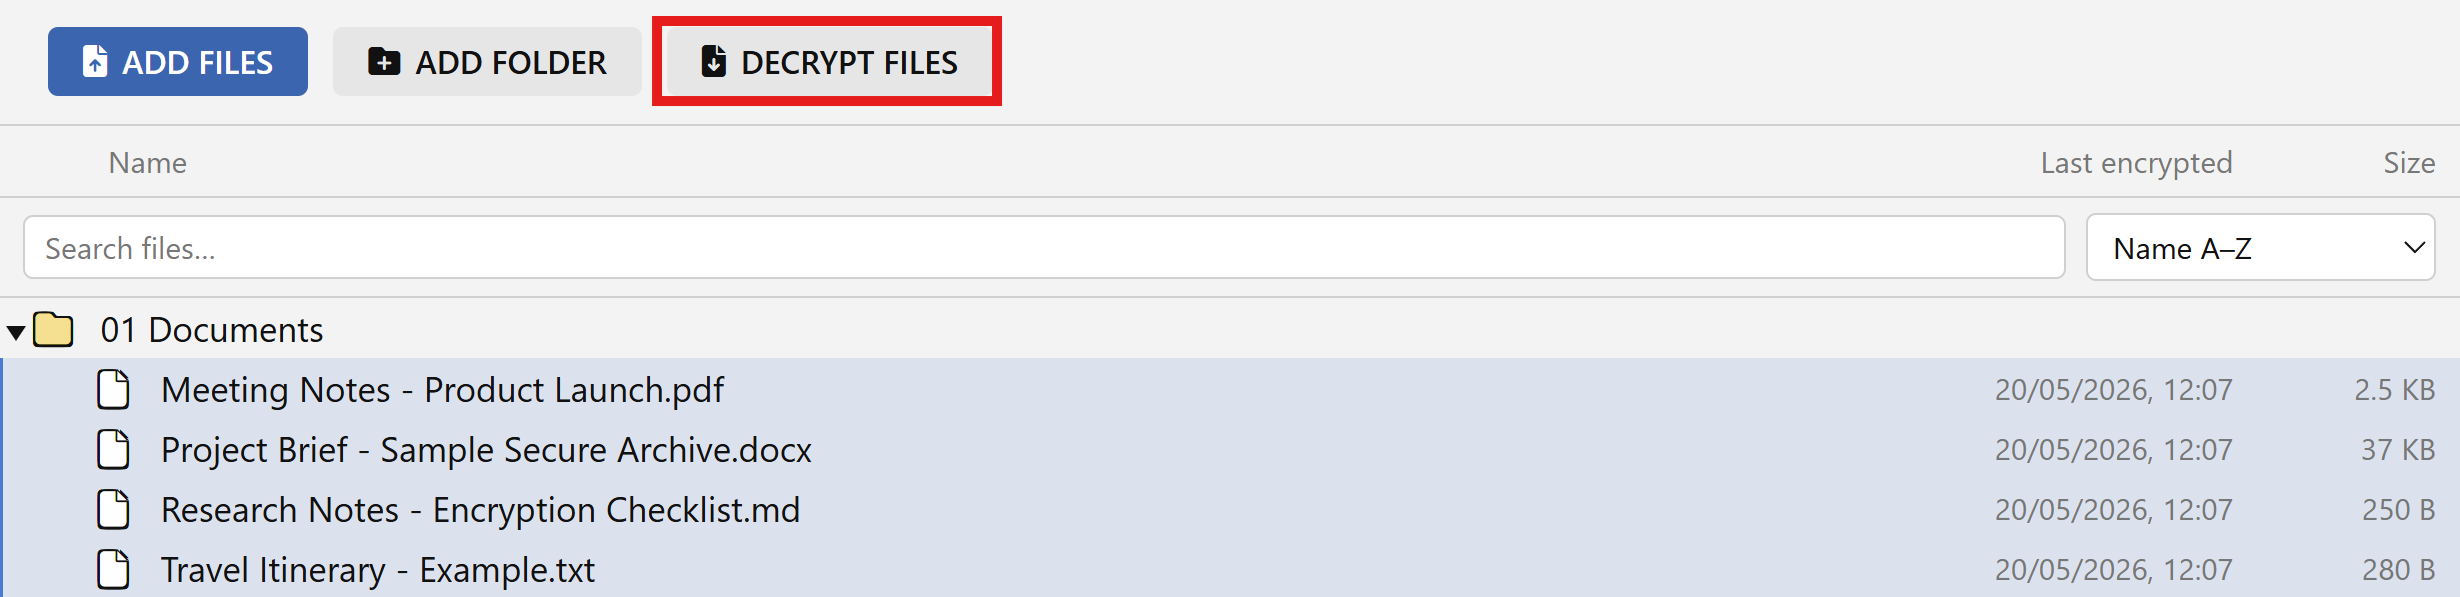
- Select one or more files in the vault browser
- Click DECRYPT FILES in the toolbar
- Choose a destination folder for the decrypted output
For standalone decryption (outside of a vault), use the Decrypt tile in the inspector footer to open the Quick Decrypt modal.
Warning
Make sure the same Key Drive (or a backup Key Drive) is connected when decrypting. The app verifies that the connected Key Drive matches the key used to encrypt the file. A different Key Drive cannot decrypt the file.
Step 6: Verify Your Work
After encrypting and decrypting:
- Open the decrypted file and compare it with the original — they should be byte-for-byte identical
- For Free tier accounts, check the capacity bar in the Key Drive status card — it shows your current encrypted file usage against the 1 GB limit

What You've Learned
In this quick start, you've:
- ✅ Launched Necron Vault Manager and passed the Gatekeeper
- ✅ Created a vault for organized encrypted storage
- ✅ Encrypted files into the vault
- ✅ Decrypted files from the vault
- ✅ Verified the round-trip works correctly
What's Next?
Now that you've encrypted your first file, explore these features:
- Your First Encryption — a more detailed walkthrough with tips
- Creating a Vault — detailed guide on vault creation and configuration
- Interface Overview — full tour of the application layout
- Key Drive Management — understand your Key Drive and encryption capacity