Key Drive Setup
When you subscribe to Pro tier, your encryption key is written to a physical USB drive. This process is called Key Drive provisioning and is handled by a simple wizard inside the app.
Prerequisites
- An active Pro subscription
- A USB flash drive — any standard USB drive works (no special hardware needed)
- The Necron Vault Manager desktop app installed
Tip
You don't need an expensive or specialized USB drive. Any USB 2.0/3.0 flash drive will work. Using a dedicated drive is recommended — avoid sharing it with other files.
Setup Wizard
The wizard runs automatically when a Pro user launches the app without a configured Key Drive. It walks you through three simple steps:
Step 1 — Insert USB Drive
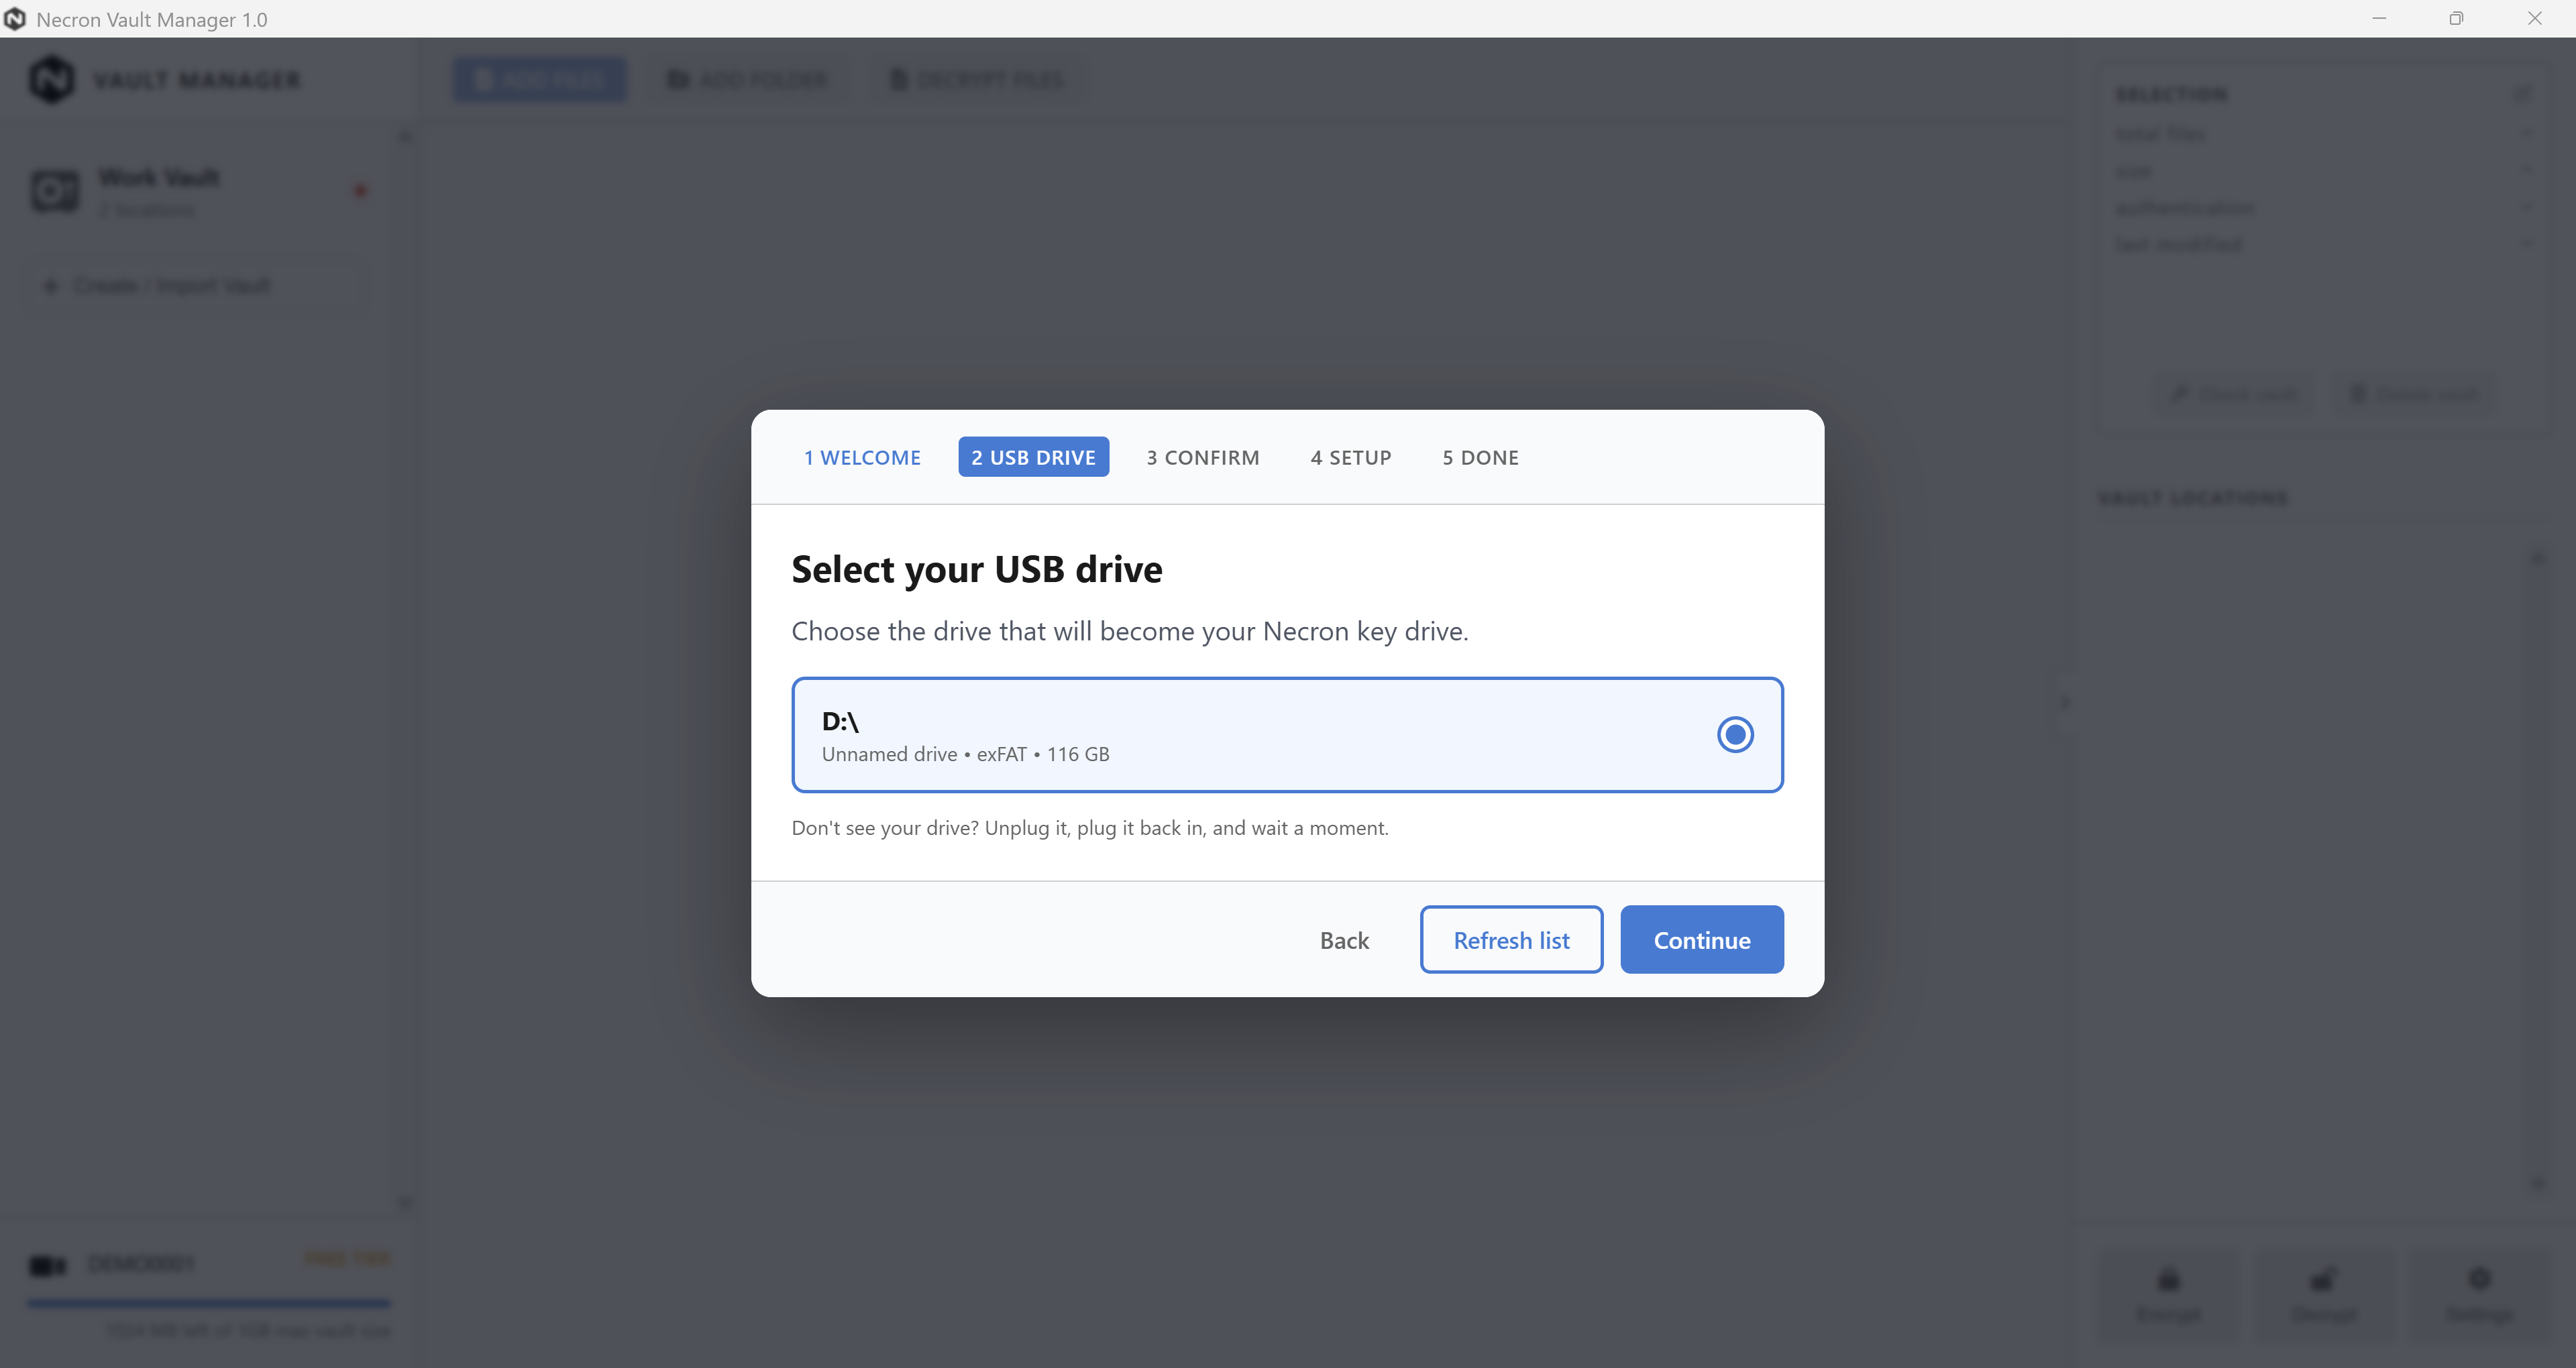
Insert a USB flash drive. The app detects it and shows it as an available target.
Warning
Using a dedicated USB drive is strongly recommended to avoid accidental file interaction.
Step 2 — Write Key
The wizard writes your encryption key to the USB drive. This takes just a few seconds.
Step 3 — Done
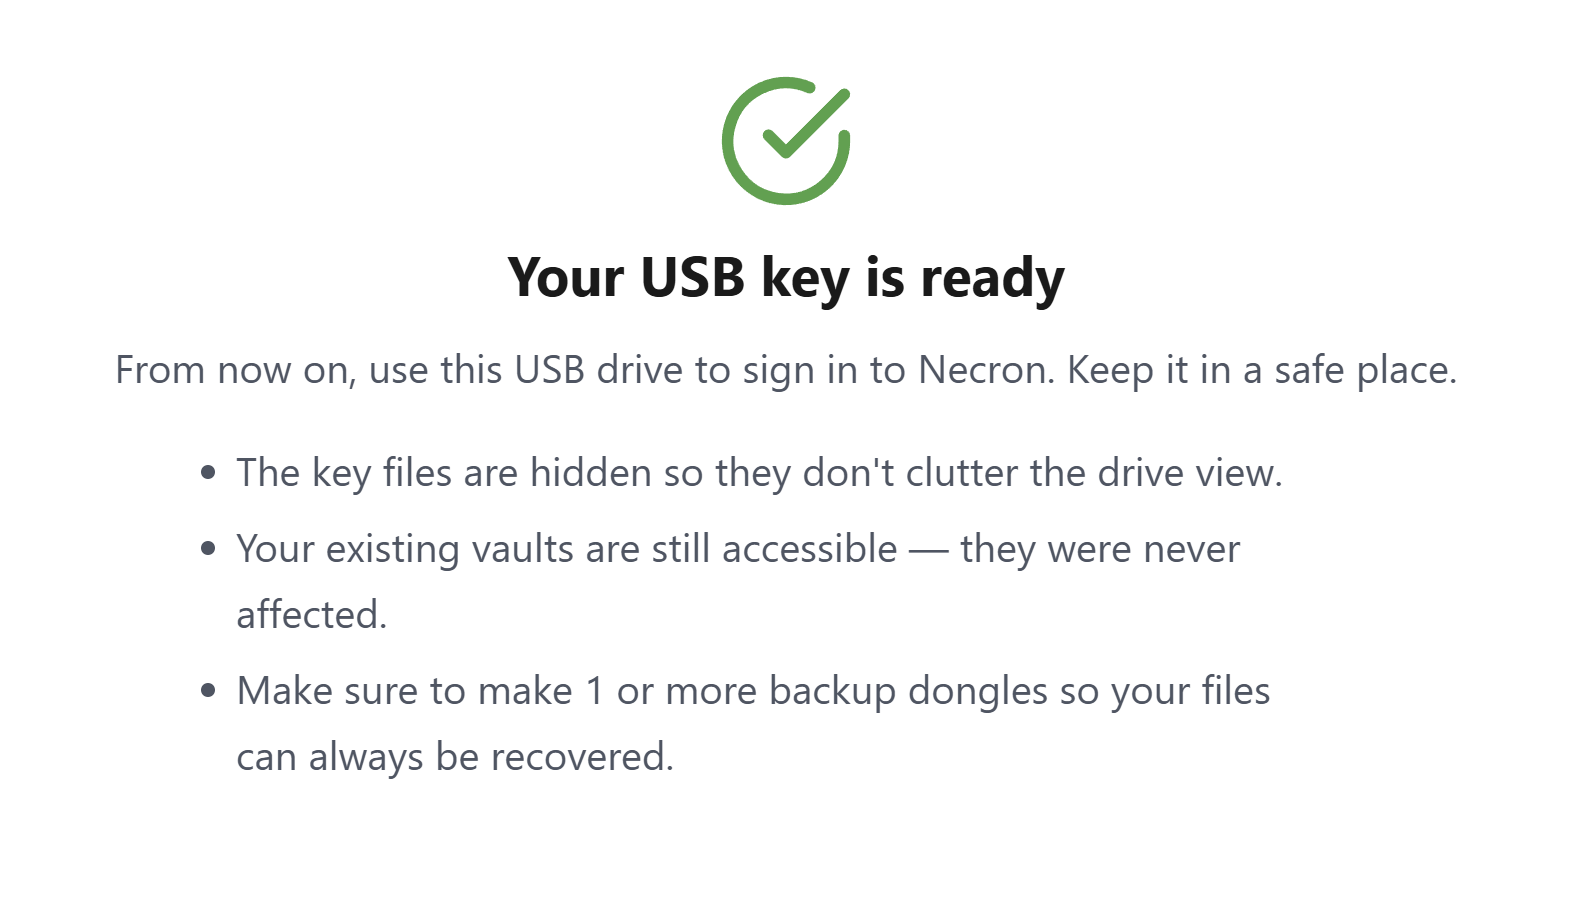
The Key Drive is registered with your account and ready to use. You can now create vaults, encrypt files, and take the Key Drive with you.
Upgrading from Free to Pro
If you're upgrading from Free tier, the wizard copies your existing software key to the Key Drive:
- Complete Pro payment
- Relaunch the app
- Insert a USB drive and follow the wizard
- Your existing key is copied to the Key Drive — all your vaults and encrypted files continue working
Note
After upgrading, the app uses the Key Drive exclusively. Your local software key is no longer active.
Subsequent Launches
After setup, launching the app is simple:
- Insert your Key Drive
- Launch the app
- The Key Drive is detected and verified — you're in
If the Key Drive isn't present, the Gatekeeper screen prompts you to insert it.
Troubleshooting
| Issue | Solution |
|---|---|
| Drive not detected | Try a different USB port |
| "Subscription not active" | Check your subscription on the website |
| Setup fails mid-write | Remove and reinsert the drive, then retry |
| Drive appears read-only | Check the physical write-protect switch on the USB drive |
Security Notes
- Never copy key files manually between drives. Use the Backup Key Drive wizard to create authorized copies.
- If you lose a Key Drive, deactivate it from your account immediately.
Next Steps
- Backup Key Drives — create backup copies of your key
- Free vs. Pro Tiers — understand the differences
- Creating a Vault — start encrypting files