Encrypting & Decrypting Files
Necron Vault Manager offers two ways to encrypt and decrypt your files: vault-based operations (adding files to an organized vault) and standalone Quick Encrypt/Decrypt (for quick, one-off operations without setting up a vault).
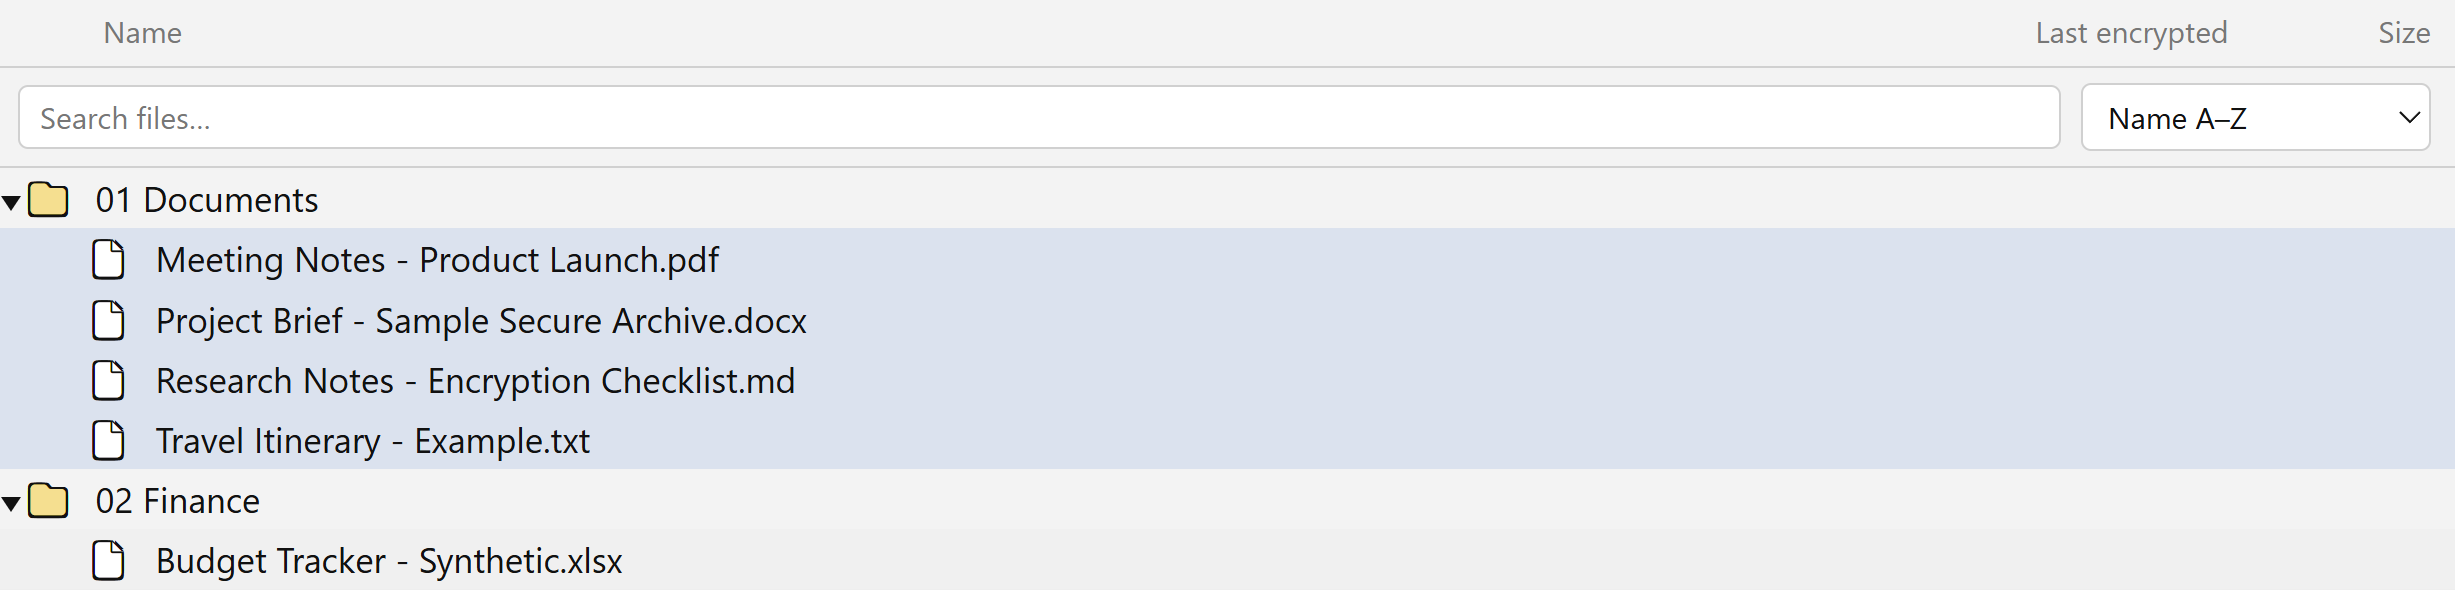
Encrypting Files into a Vault
The primary way to encrypt files is by importing them into a vault:
- Select a vault — click a vault in the sidebar to make it active
- Add files — click ADD FILES in the toolbar to select files, or ADD FOLDER to add an entire directory
- Done — files are automatically encrypted and stored across all your vault locations
The vault browser updates in real-time as files are imported. A progress overlay appears during large imports.
Decrypting Files from a Vault
To decrypt files stored in a vault:
- Select files in the vault browser (use Ctrl+Click or Shift+Click for multiple files)
- Click DECRYPT FILES in the toolbar
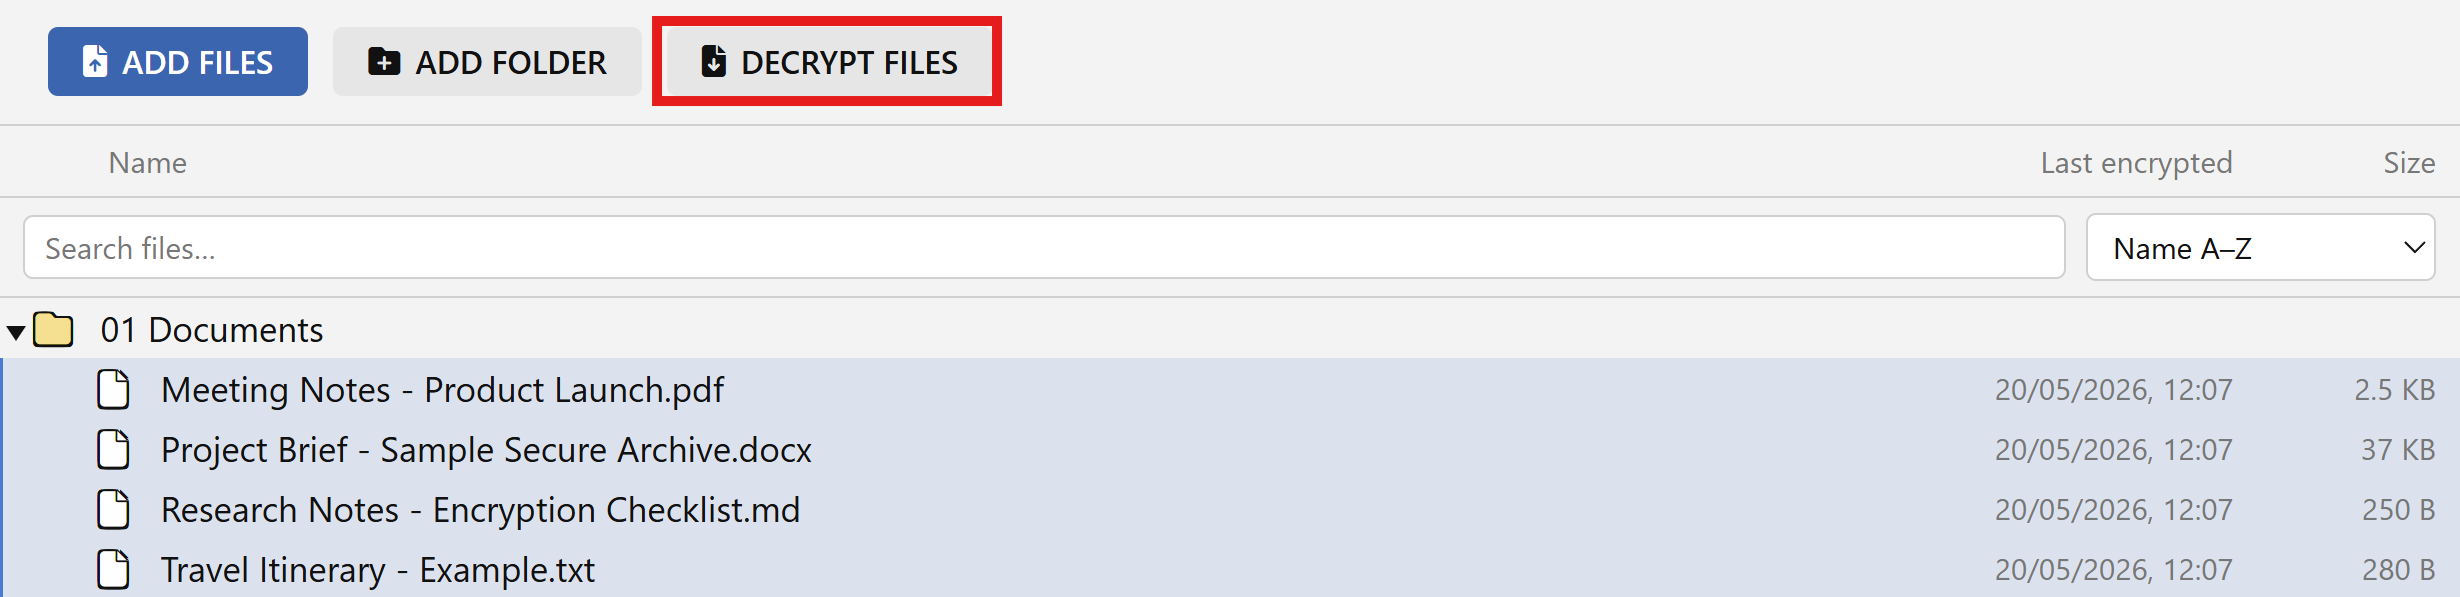
- Choose a destination folder for the decrypted output
- Files are decrypted and saved to your chosen location
Quick Encrypt (Standalone)
For encrypting files without adding them to a vault:
- Click the Encrypt tile in the inspector footer (bottom of the right-hand panel)
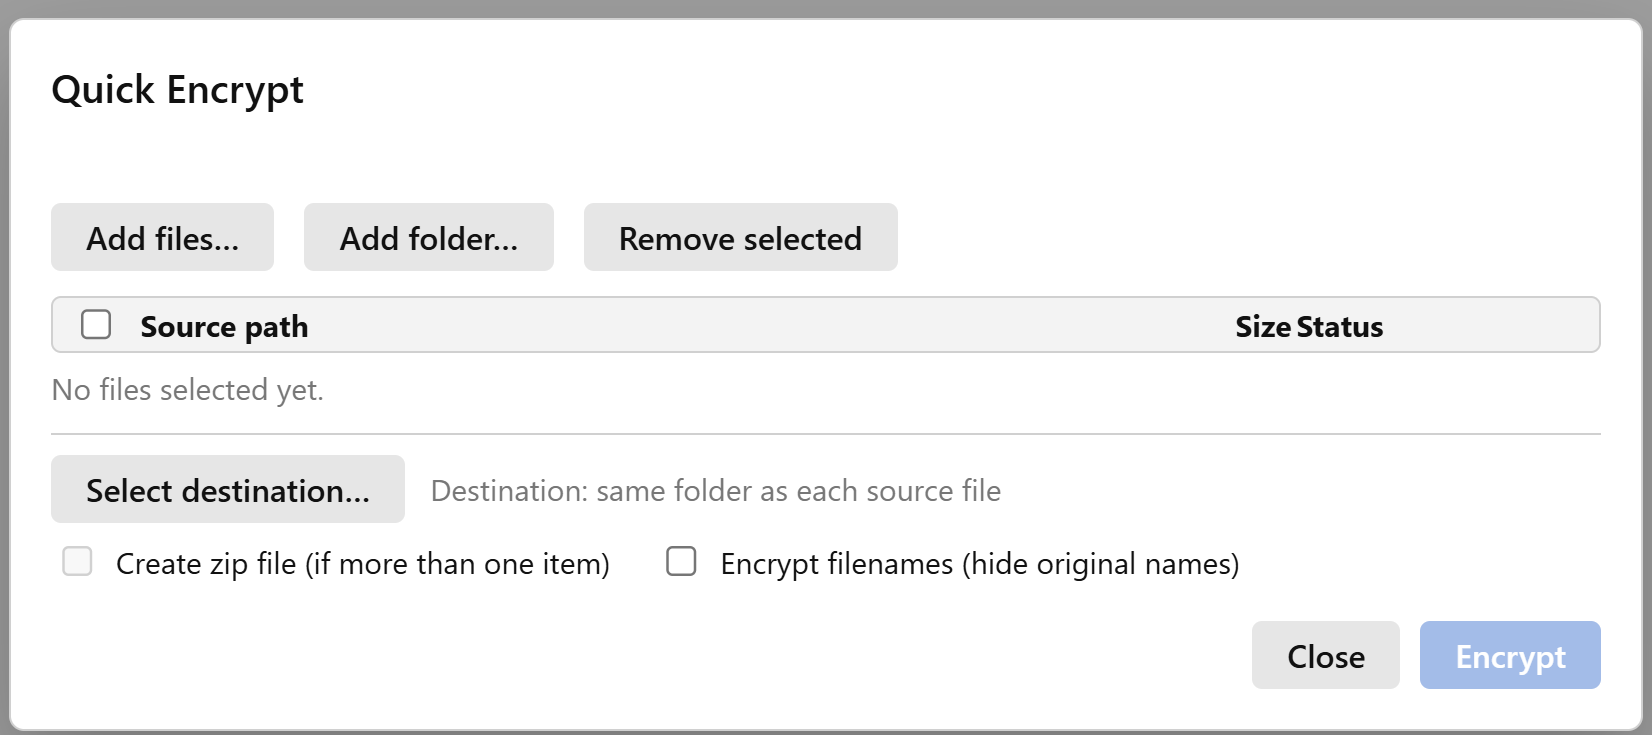
- Add files or folders using the buttons in the modal
- Choose a destination — by default, encrypted files are saved next to the originals
- Toggle options:
- Encrypt filenames — hides original filenames for extra privacy
- Create zip file — bundles multiple files into one encrypted package (great for sharing)
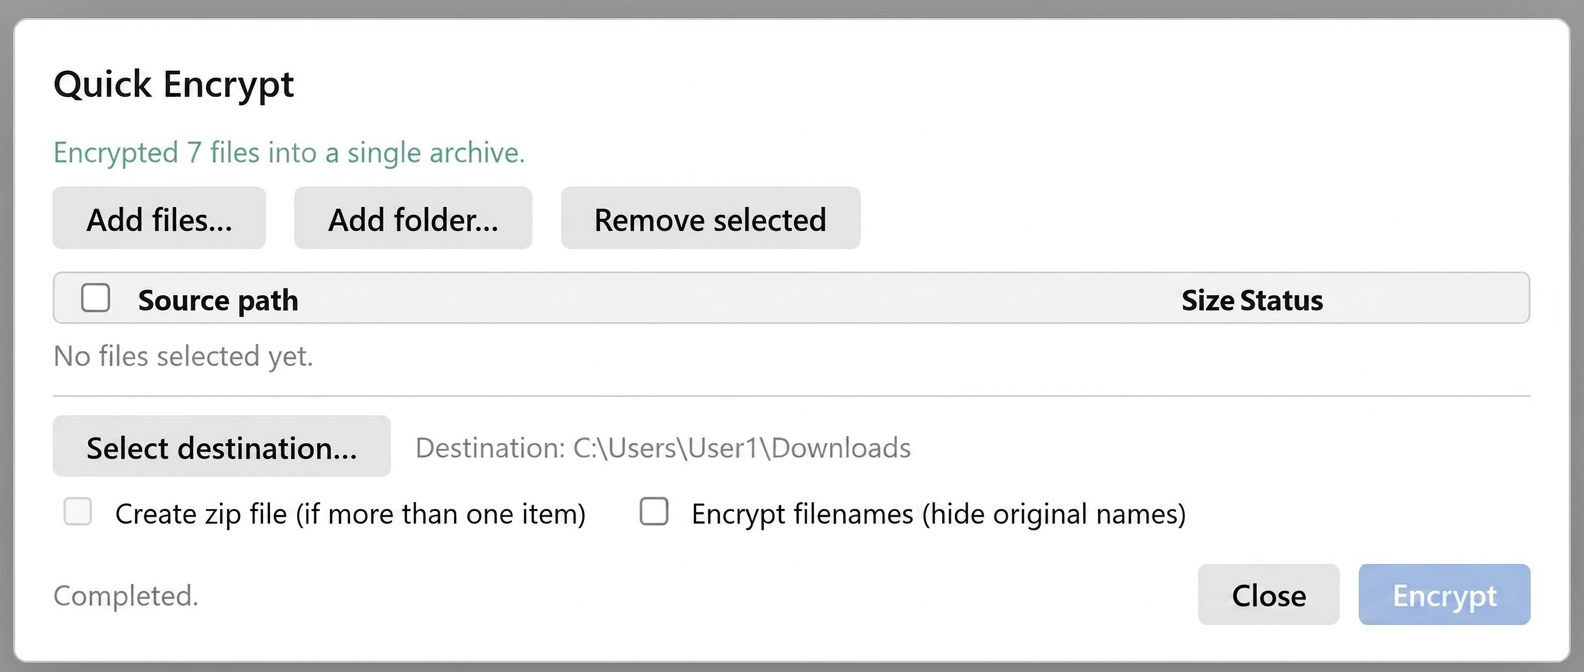
- Click Encrypt to start
Each file shows its progress: pending → encrypting → done (or error details if something went wrong).
Output Files
| Setting | Example Input | Example Output |
|---|---|---|
| Default | report.pdf |
report.pdf.ncrn |
| Filenames encrypted | report.pdf |
a7B2x9Kp...Qm.ncrn |
| Zip mode | Multiple files | archive.zip.ncrn |
Zip Archive Mode
When you have two or more files selected, you can enable Create zip file to bundle everything into a single encrypted package. This is especially handy for email or file-sharing — instead of sending 20 encrypted files, you send one.
Quick Decrypt (Standalone)
For decrypting files that aren't stored in a vault:
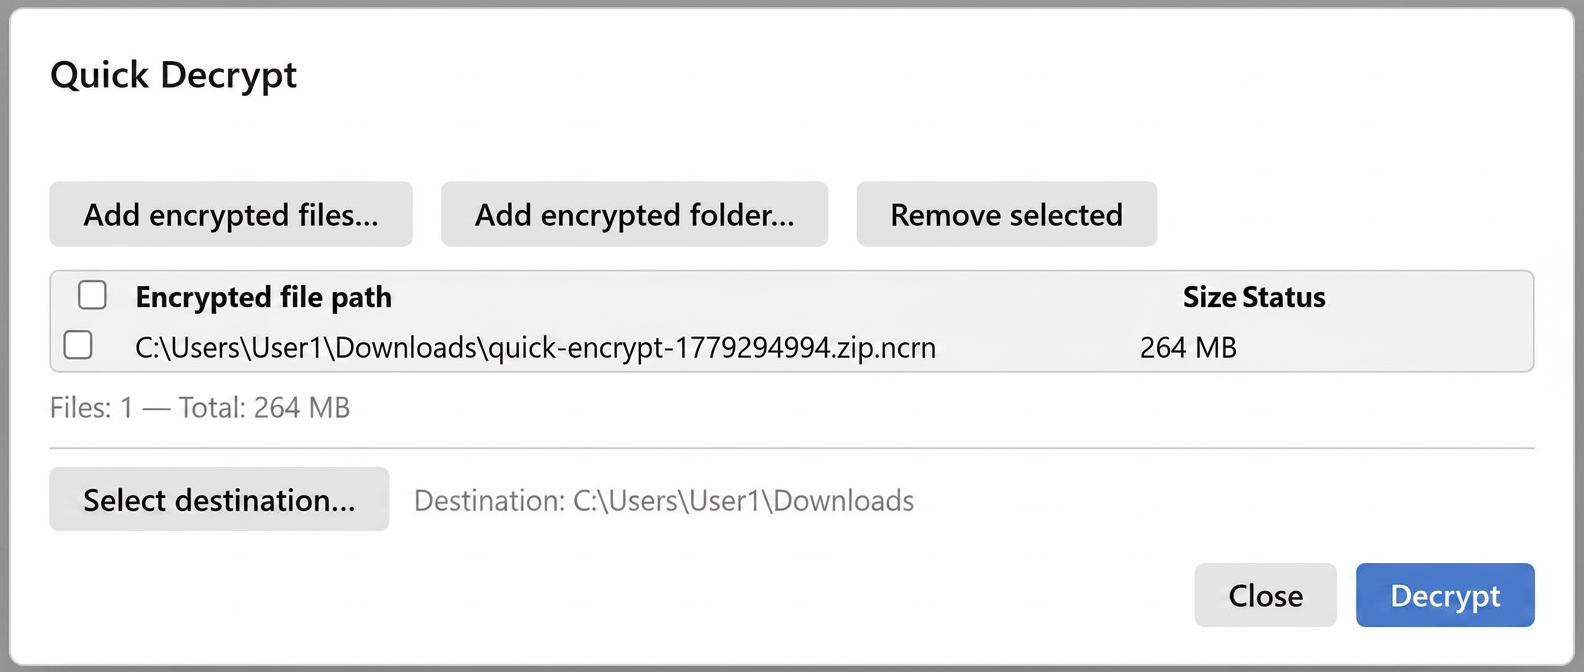
- Click the Decrypt tile in the inspector footer
- Add encrypted files (
.ncrnfiles) or select a folder to find them automatically - Choose a destination — by default, decrypted files are saved next to the originals
- Click Decrypt to start
The app automatically detects the encryption format, validates your key, decrypts the content, and restores the original filename.
Note
Your Key Drive must be connected and match the key used to encrypt the files. If the wrong Key Drive is connected, you'll see a "key mismatch" error.
Quick Encrypt vs. Vault Import
| Feature | Quick Encrypt | Vault Import |
|---|---|---|
| Access | Encrypt tile in inspector footer | ADD FILES / ADD FOLDER in toolbar |
| Vault required | ❌ No | ✅ Yes |
| Zip mode | ✅ Available | ❌ Not available |
| Filename encryption | ✅ Toggleable | Managed by vault settings |
| Replication | Single output location | All vault locations |
| Best for | Quick one-off encryption | Organized encrypted storage |
Error Handling
If a file fails during processing, the app continues with the remaining files — it doesn't stop the whole operation. Failed files show error details in their status.
Common issues:
| Error | What to Do |
|---|---|
| Key mismatch | Insert the correct Key Drive that was used to encrypt the files |
| Encrypted file limit reached | Free accounts can only have a maximum of 1 GB of files encrypted at any one time — upgrade to Pro for no limit |
| File read error | Close other programs that may be using the file |
| Corrupt file | The encrypted file may be damaged and not recoverable |
Tips for Large Operations
- Close other disk-intensive programs to maximize performance
- Use a local destination rather than a network drive for better speed
- For Free tier accounts, monitor the capacity bar in the Key Drive status card to track your usage against the 1 GB limit
- Review results carefully to catch any individual failures